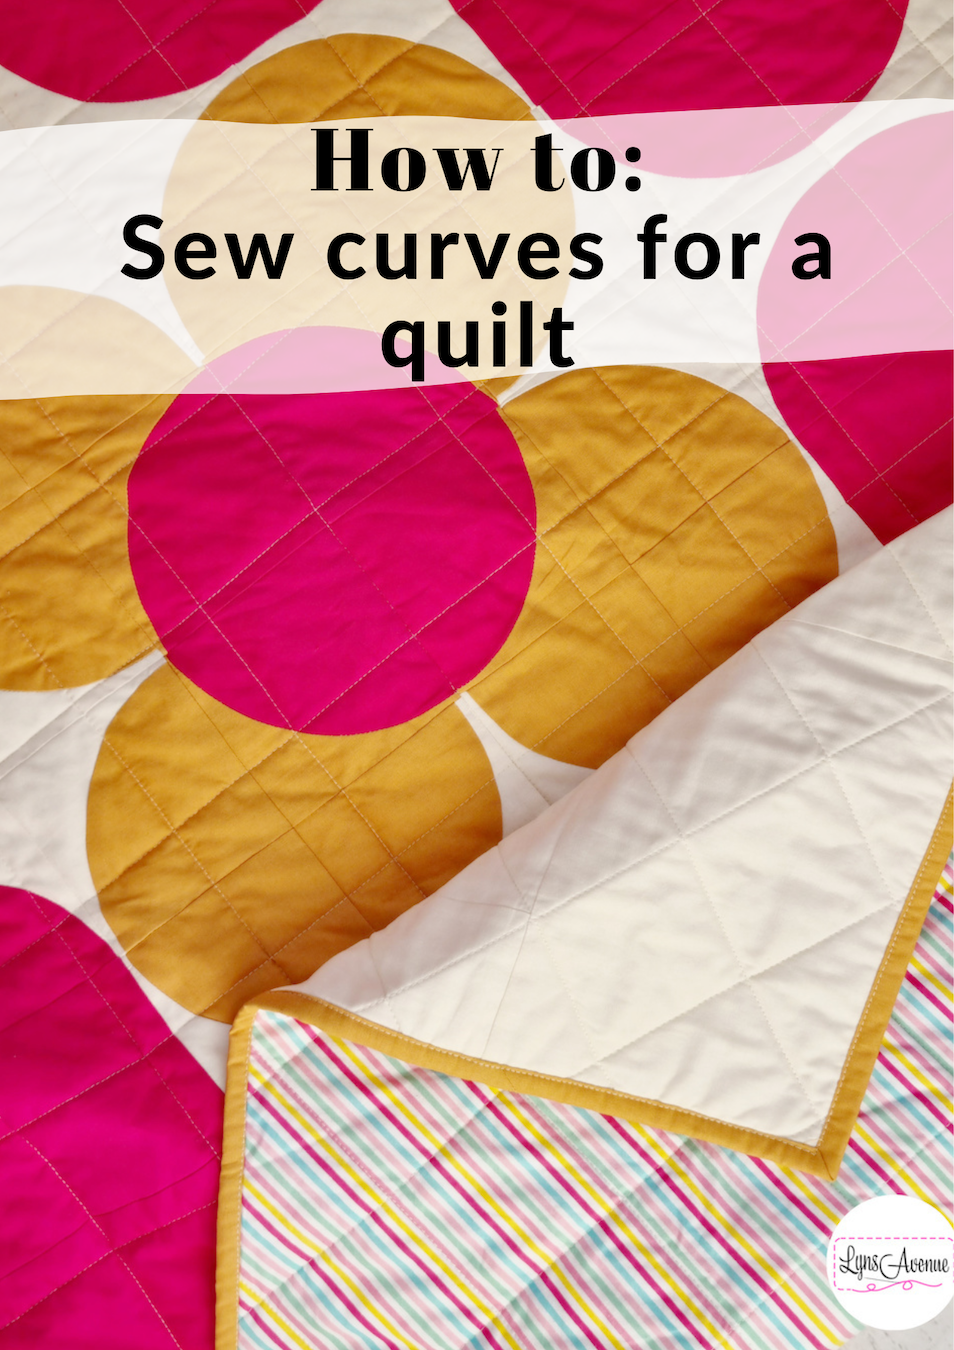
How to: Sew Curves in a Quilt
Sewing curves scares me, is a phrase l hear often that l truly did not get until l got my roots more connected in the quiltyverse. I could not understand how these beautiful blocks could be scary at all, after all it is just putting pieces together and sewing right! I have come to realise that change from straight to curve is a leap that seems daunting as it feels there is more to think about with curves. Curves are my absolute favourite quilt block to sew and l love the look that the curve block brings to a quilt design.

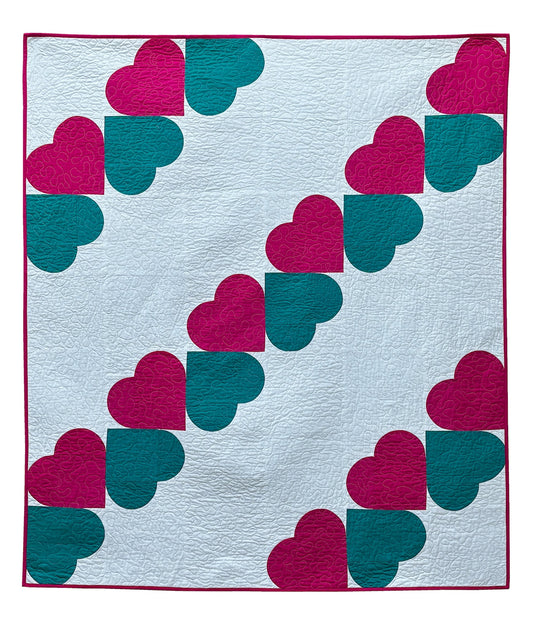
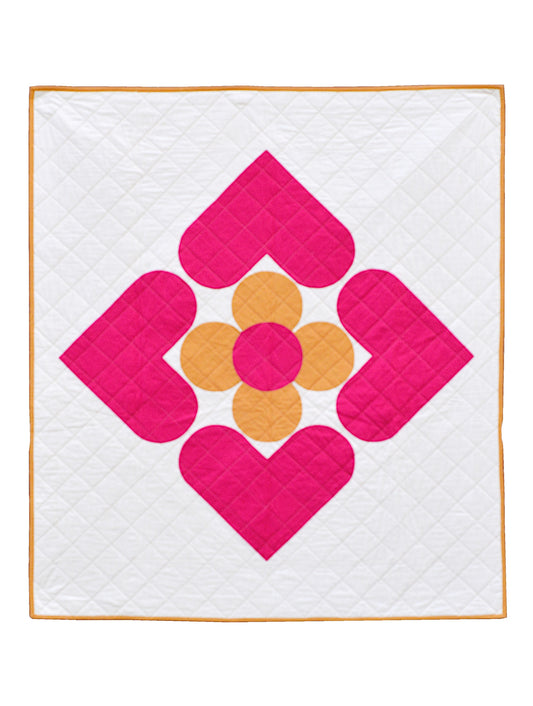
This is a photo of Heart Posy Quilt by LynsAvenue
Well, l'm here to tell you that sewing curves should not be a scary thing and that once you have a few practice blocks under your sleeve, it will be the beginning of a beautiful love affair as you will want make more and more of them. In this tutorial, l will help break down the 'scary' in sewing curves and get you started on this beautiful journey with ease.
Most quilt patterns using curves will come with templates, which makes it easy to cut your pieces. I find it helpful to transfer my templates onto card stock or plastic template sheet as these will last longer and avoids you shaving off a little of your paper templates with each cut. You can simply use a cardboard box e.g cereal box, to trace out your template and cut. Cut out the templates according to quilt pattern instructions. Place a piece of sticky tape folded over itself, sticky side out, on the back of the template to help keep it in place when cutting your pieces. Remember, there are many ways to sew a curved block which all ends up with the same result, a beautiful curved block. In this tutorial, l'm showing you how l achieve my curved block pieces when sewing quilt patterns with curved pieces.
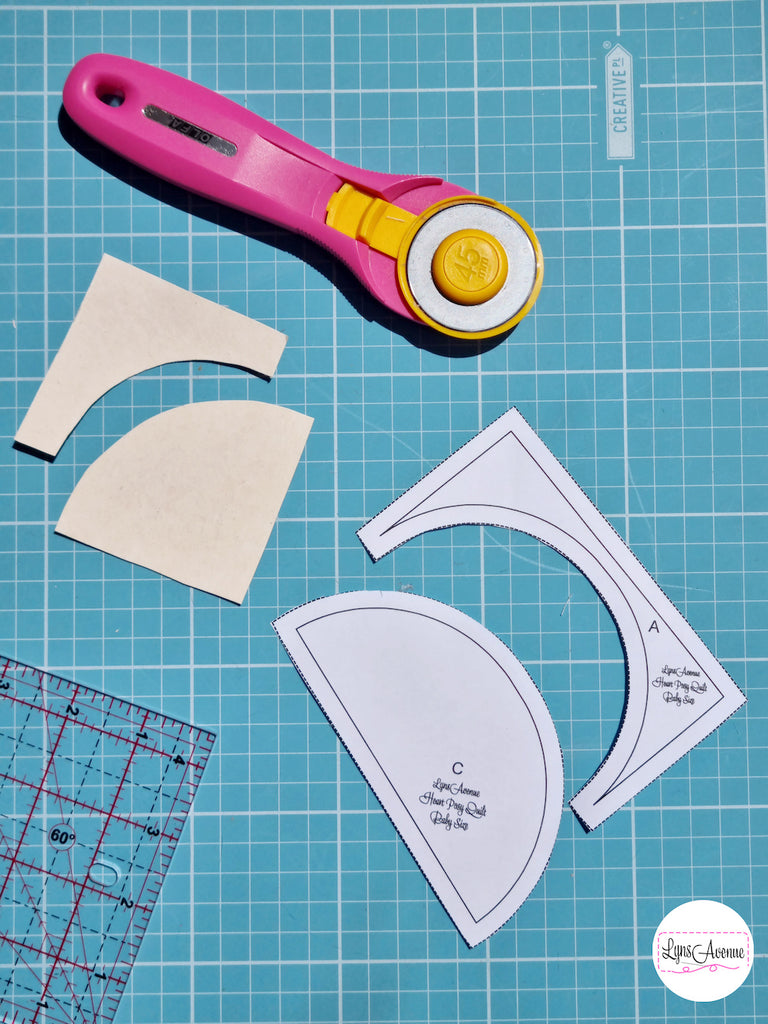
A curved block is made up of two pieces; a concave piece (the curve going inwards) and convex piece (the curve going outwards). One piece will look bigger than the other, that's absolutely fine, you have not made a cutting error (phew!). This is to accommodate the curve and they will all fit nicely into place once sewn together.

Basting Fabric Pieces Together
There are different ways to go about basting your curved pieces. You can use one, two, ten pins, you can glue baste to hold your pieces in place or you can just go for it; no pins no glue. That's all fine and up to personal preference so just go ahead and do whatever it is that will help you sew your curved pieces with confidence. When l started out, l used two pins, one in the middle and one at the end of the piece. In fact, l still do use pins with some blocks that are a bit finicky to sew.
If using pins, fold both pieces in half to find the centre and finger press on the curved side to make a crease. These will be your centre registration marks. With right sides together, place the concave piece on top of the convex piece, matching the two creases and pin. Place a pin on either end of the pieces and however many in between if needed.


If using glue to temporarily hold your pieces in place whilst you sew, you will want use a fabric glue that will not damage your fabric, eg the Elmers Washable School Glue. On the right side of the convex piece, draw a thin line of glue only in the seam allowance. Place the concave piece on top and manipulate the pieces to stick together until you sew them in place.


Time to Sew
Things to remember when sewing curves;- Slow and steady wins the race when it comes to sewing curved pieces together. You will want to avoid your seams puckering or having wonky stitches which means you stop every few inches to adjust your pieces and make sure that your edges are lined up.
- Do not stretch your pieces whilst you sew.
- Always have the needle in the down position (needle always left in the fabric to hold it in place) each time you stop to adjust your pieces.
- Remember to remove pins as you get close to them so as not to stitch over the pin and break your sewing needle.
- If you have a 1/4 inch presser foot, l find this a helpful handy tool to maintain the 1/4 inch seam allowance.
With this in mind, take your pieces to the sewing machine and start sewing slowly and gently along the curve with a 1/4 inch seam allowance. If going pin or glue free, place the concave piece on top of the convex piece and gently sew a 1/4 inch seam along the curve. Remember the above points as you sew your pieces in place.


Video How to Sew Curves : No pins
Below is a video showing how quick and easy it is to sew curves without using pins, glue or any other special basting tools. Block used in video uses different fabrics and is a different size to that shown in the blog post pictures.Press and Trim
Pressing is personal preference whether to the side or open however with curves, l find it easier to press the seams to the side. Which ever option you choose, you will want to press gently using a hot dry iron, easing into the curve. Do not iron as this will stretch your block and result in a wonky piece. Once your block is pressed, trim to required size following the directions in your pattern.

There you go, you have sewn your very own quilt curved block. I hope you have found this tutorial helpful. Remember practice makes perfect. The more you sew curved blocks the more confident you become and before you know it, curves will not be so scary to tackle anymore. Most importantly, enjoy the process and happy curvy sewing.


10 comments
Hi, I am seeing the curves for the quiltmas spectacular quilt and my curve piece for All the Goidies square comes out wonky and smaller than the 51/2” square. Any suggestion on what I might be doing wrong.
Hi, I am seeing the curves for the quiltmas spectacular quilt and my curve piece for All the Goidies square comes out wonky and smaller than the 51/2” square. Any suggestion on what I might be doing wrong.
Hi Lynett, you make this look so very easy. I will give it a try, and I thank you.
Thanks so much Toni, l’m glad to hear the information has been useful.
You have taught me something new too about gathering the curves first. I didn’t know you could do that. The glue will be faster and quicker too as you don’t have to keep adjusting the pieces as they are already in place.