How to: Make Half-Square Triangles (HSTs) using the 4-at-a-time method
Share
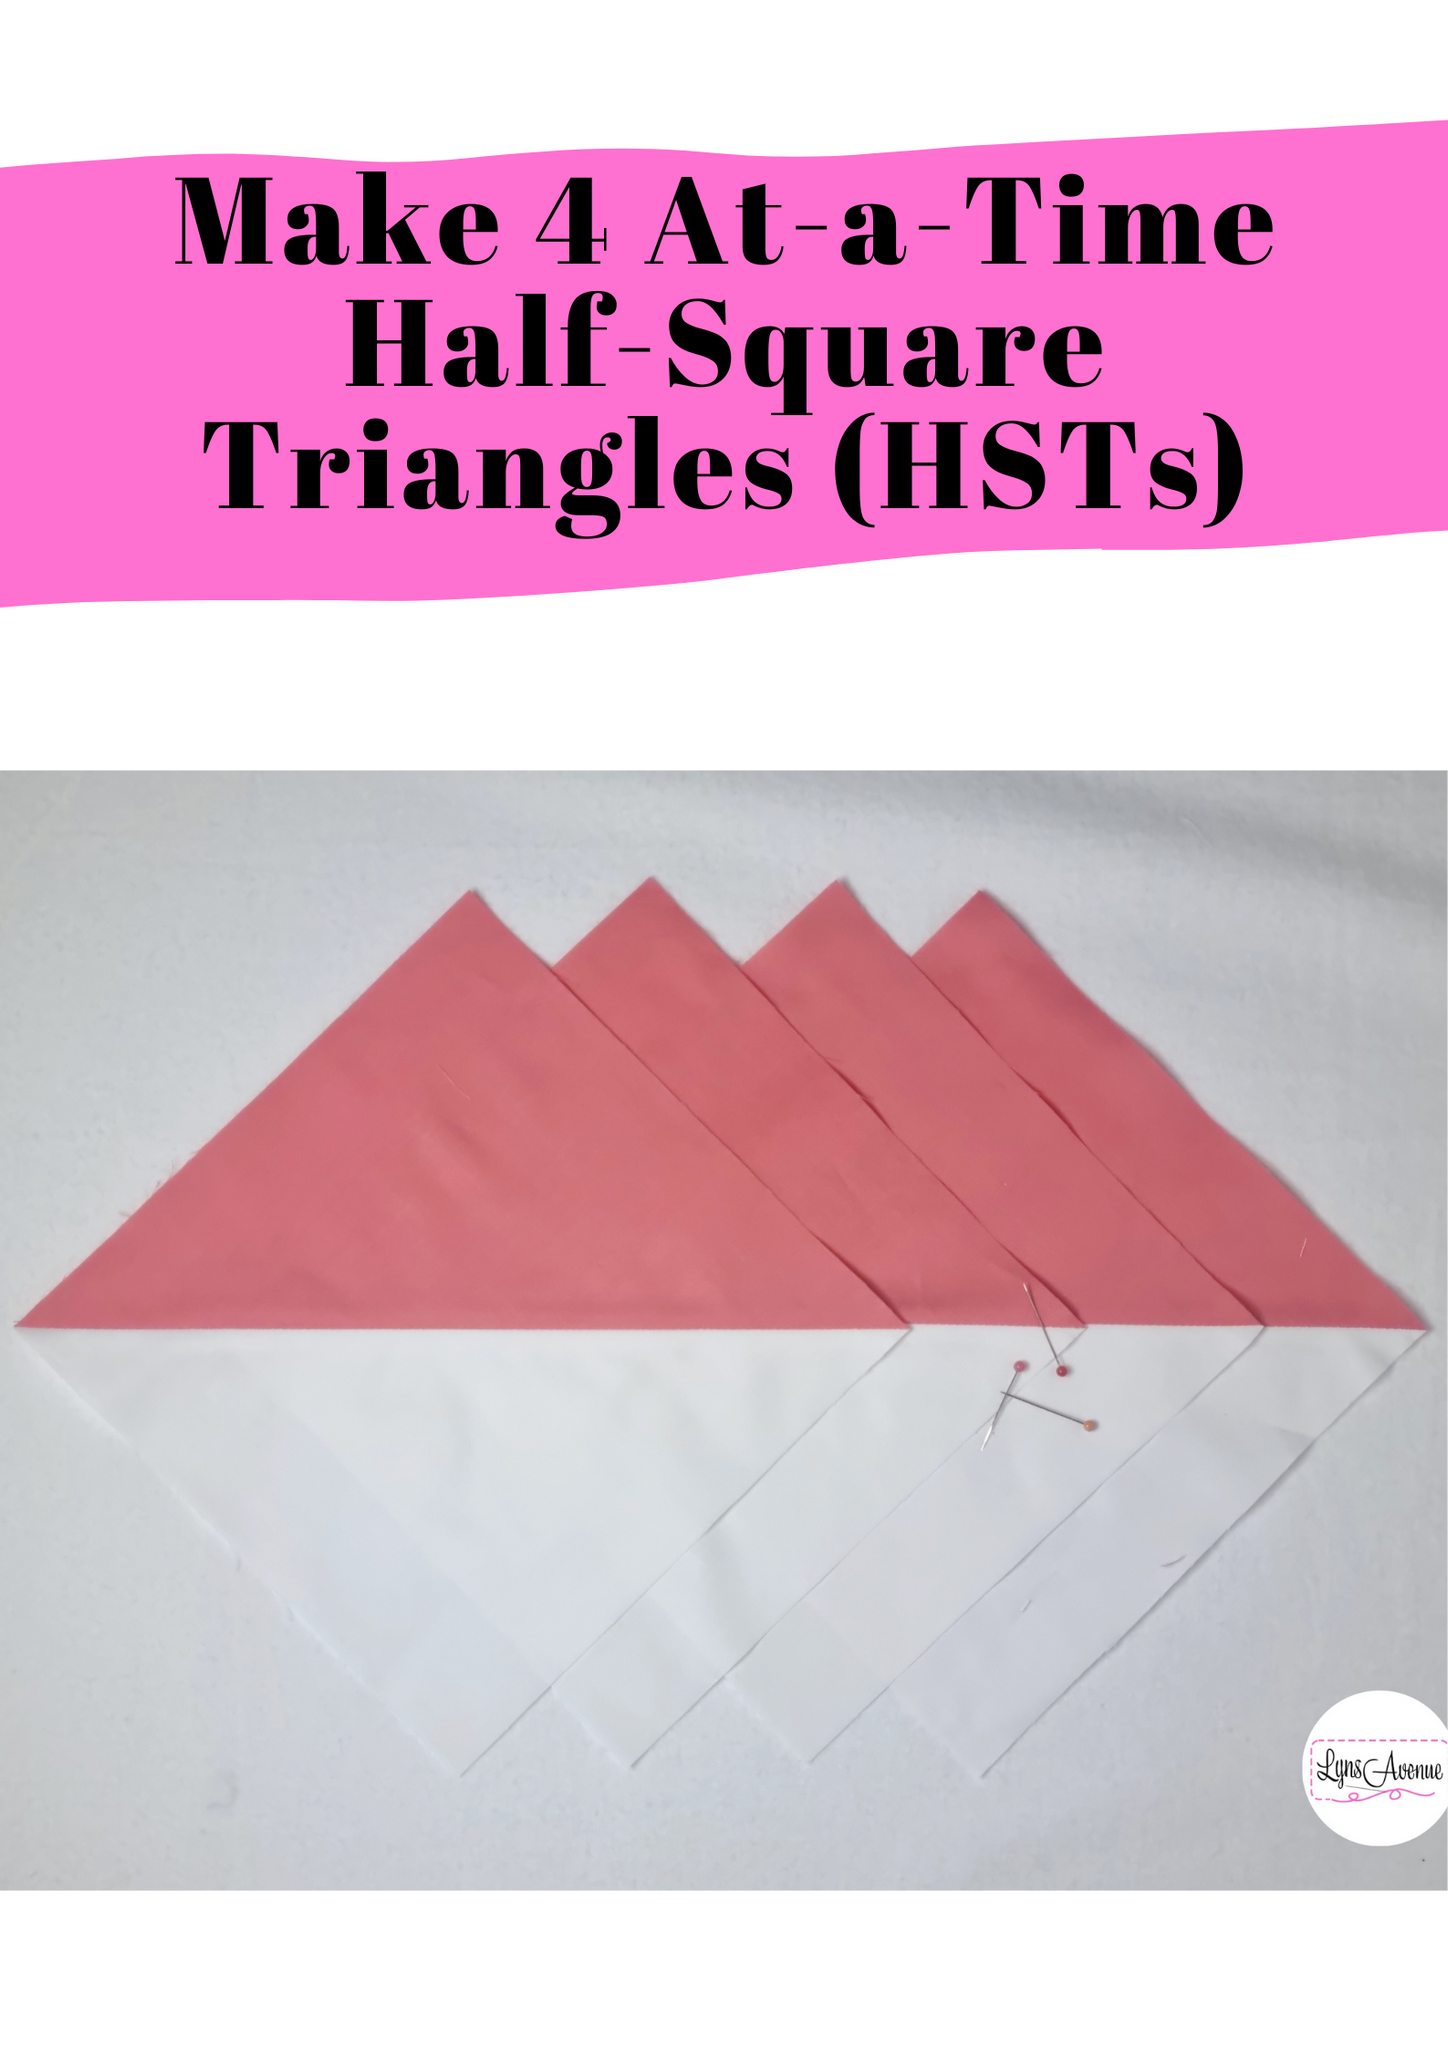
Half-Square Triangles (HSTs) are a versatile and common quilt block. They can be made to create many varied unique designs. In this tutorial, l’m going to show you how to make Half-Square Triangles using the 4-at-a-time method; useful for those designs that require you to make lots of HSTs. You can read the making Half-square Triangles (HSTs) using the 32-at-a-time method here.
This post contains affiliate links. I may receive a commission through purchases made through links from this post.
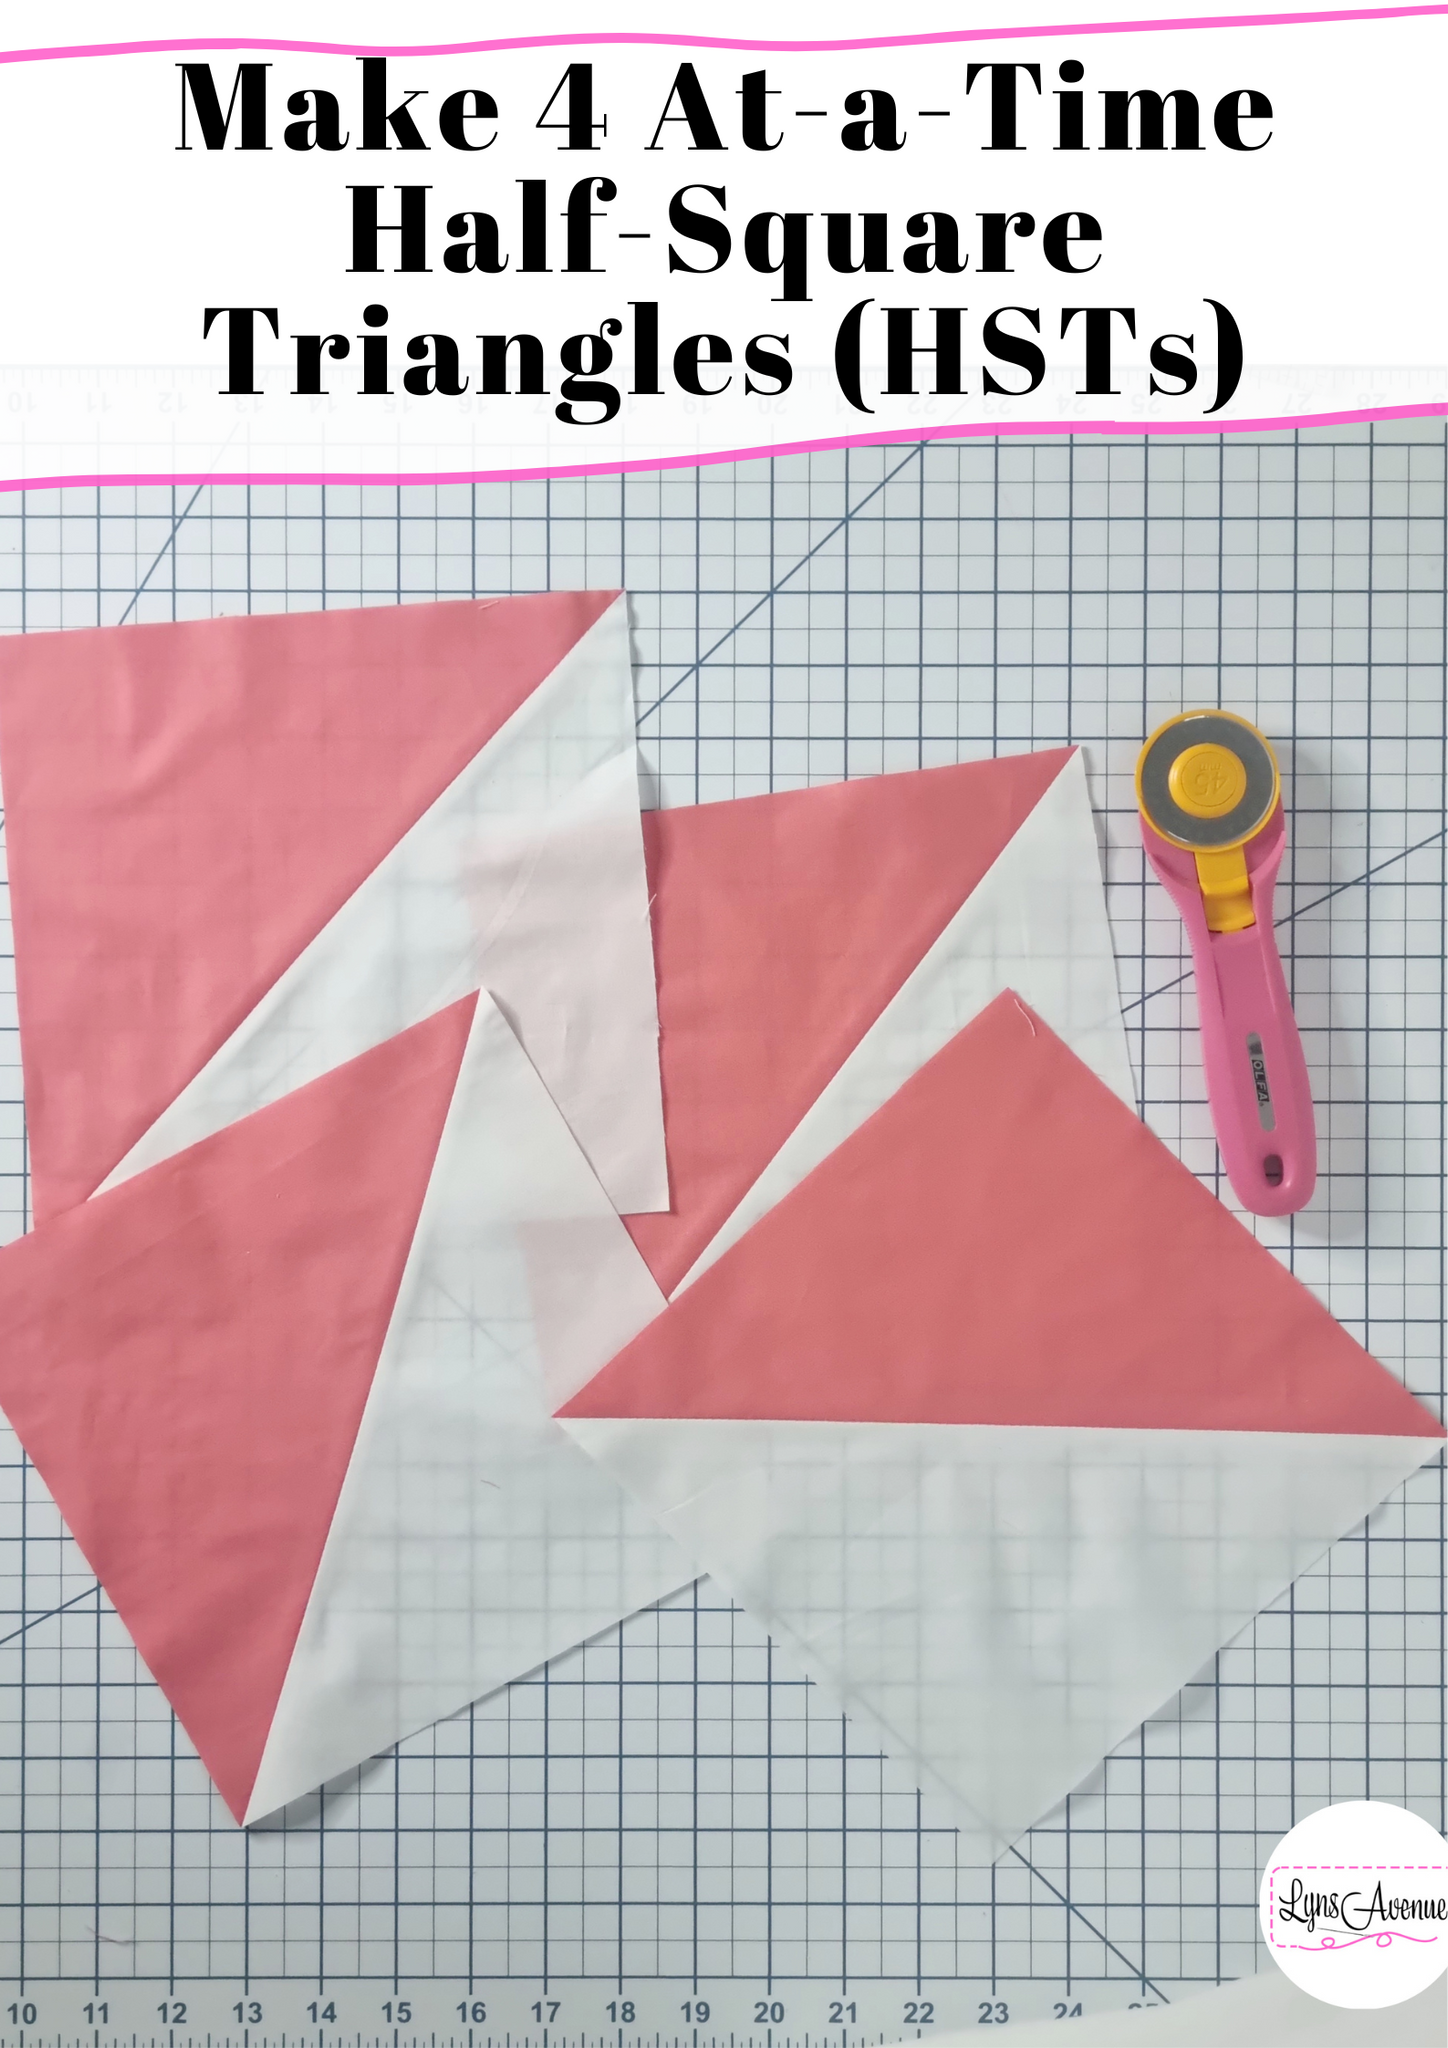
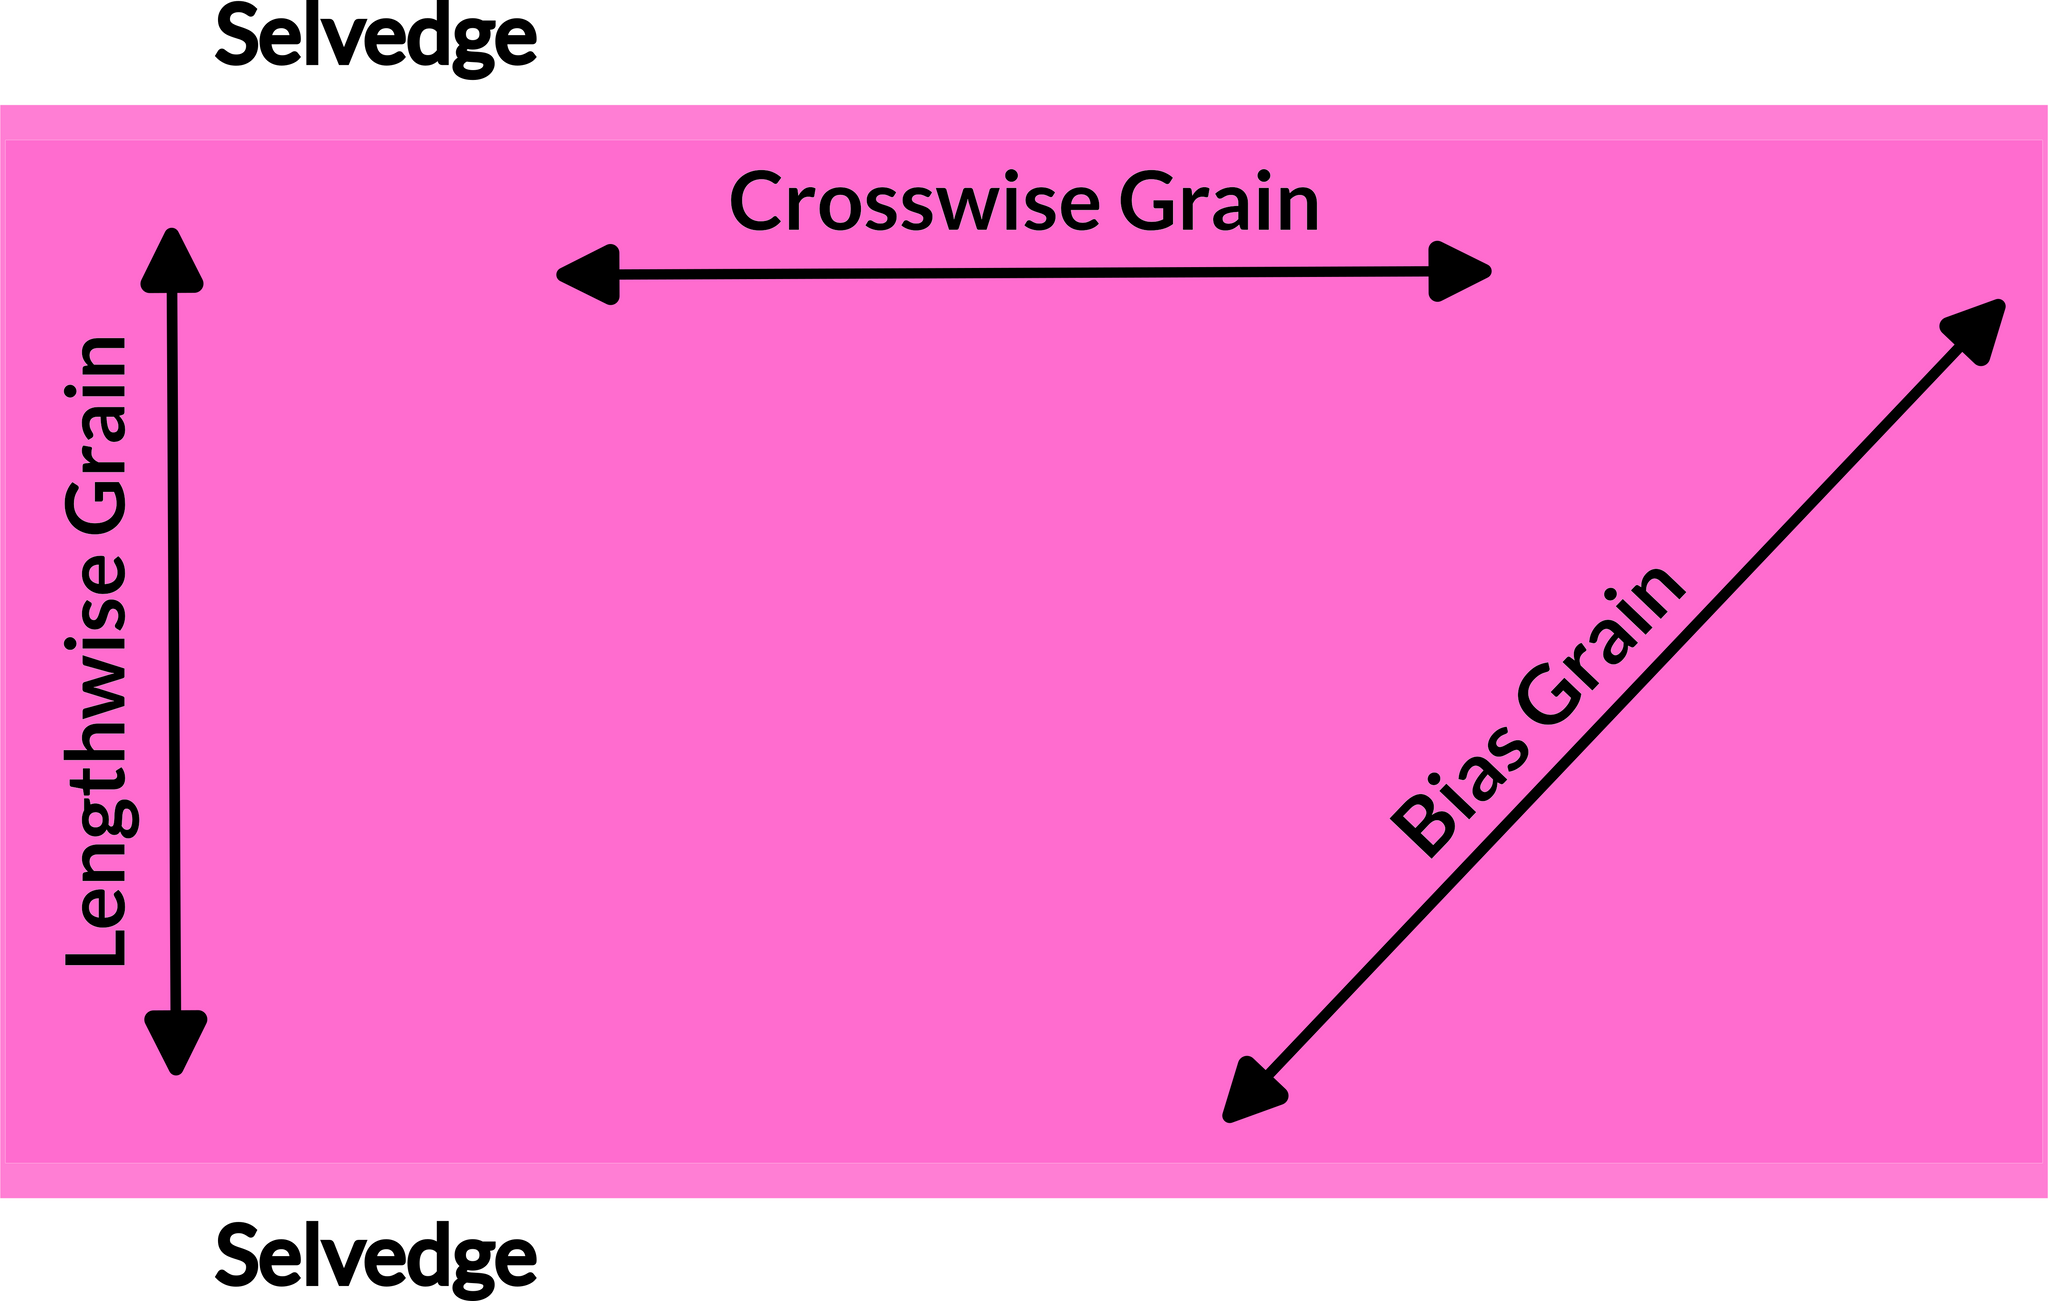
First, things first, l love this method of making 4-at-a-time Half-Square Triangles because it eliminates bias edges. Bias edges are diagonal cut edges that run at a 45-degree angle to the straight grain. Cutting on the diagonal causes stretch to the fabric which you want to avoid with quilting. Fabrics grain is the way the threads are arranged in a piece of fabric. The three main grain lines are: lengthwise, crosswise, and bias. This is not to say you can't make HSTs by cutting triangles or sewing around the square then cutting along both diagonals, but if this can be avoided, why not.
HSTs tools and notions
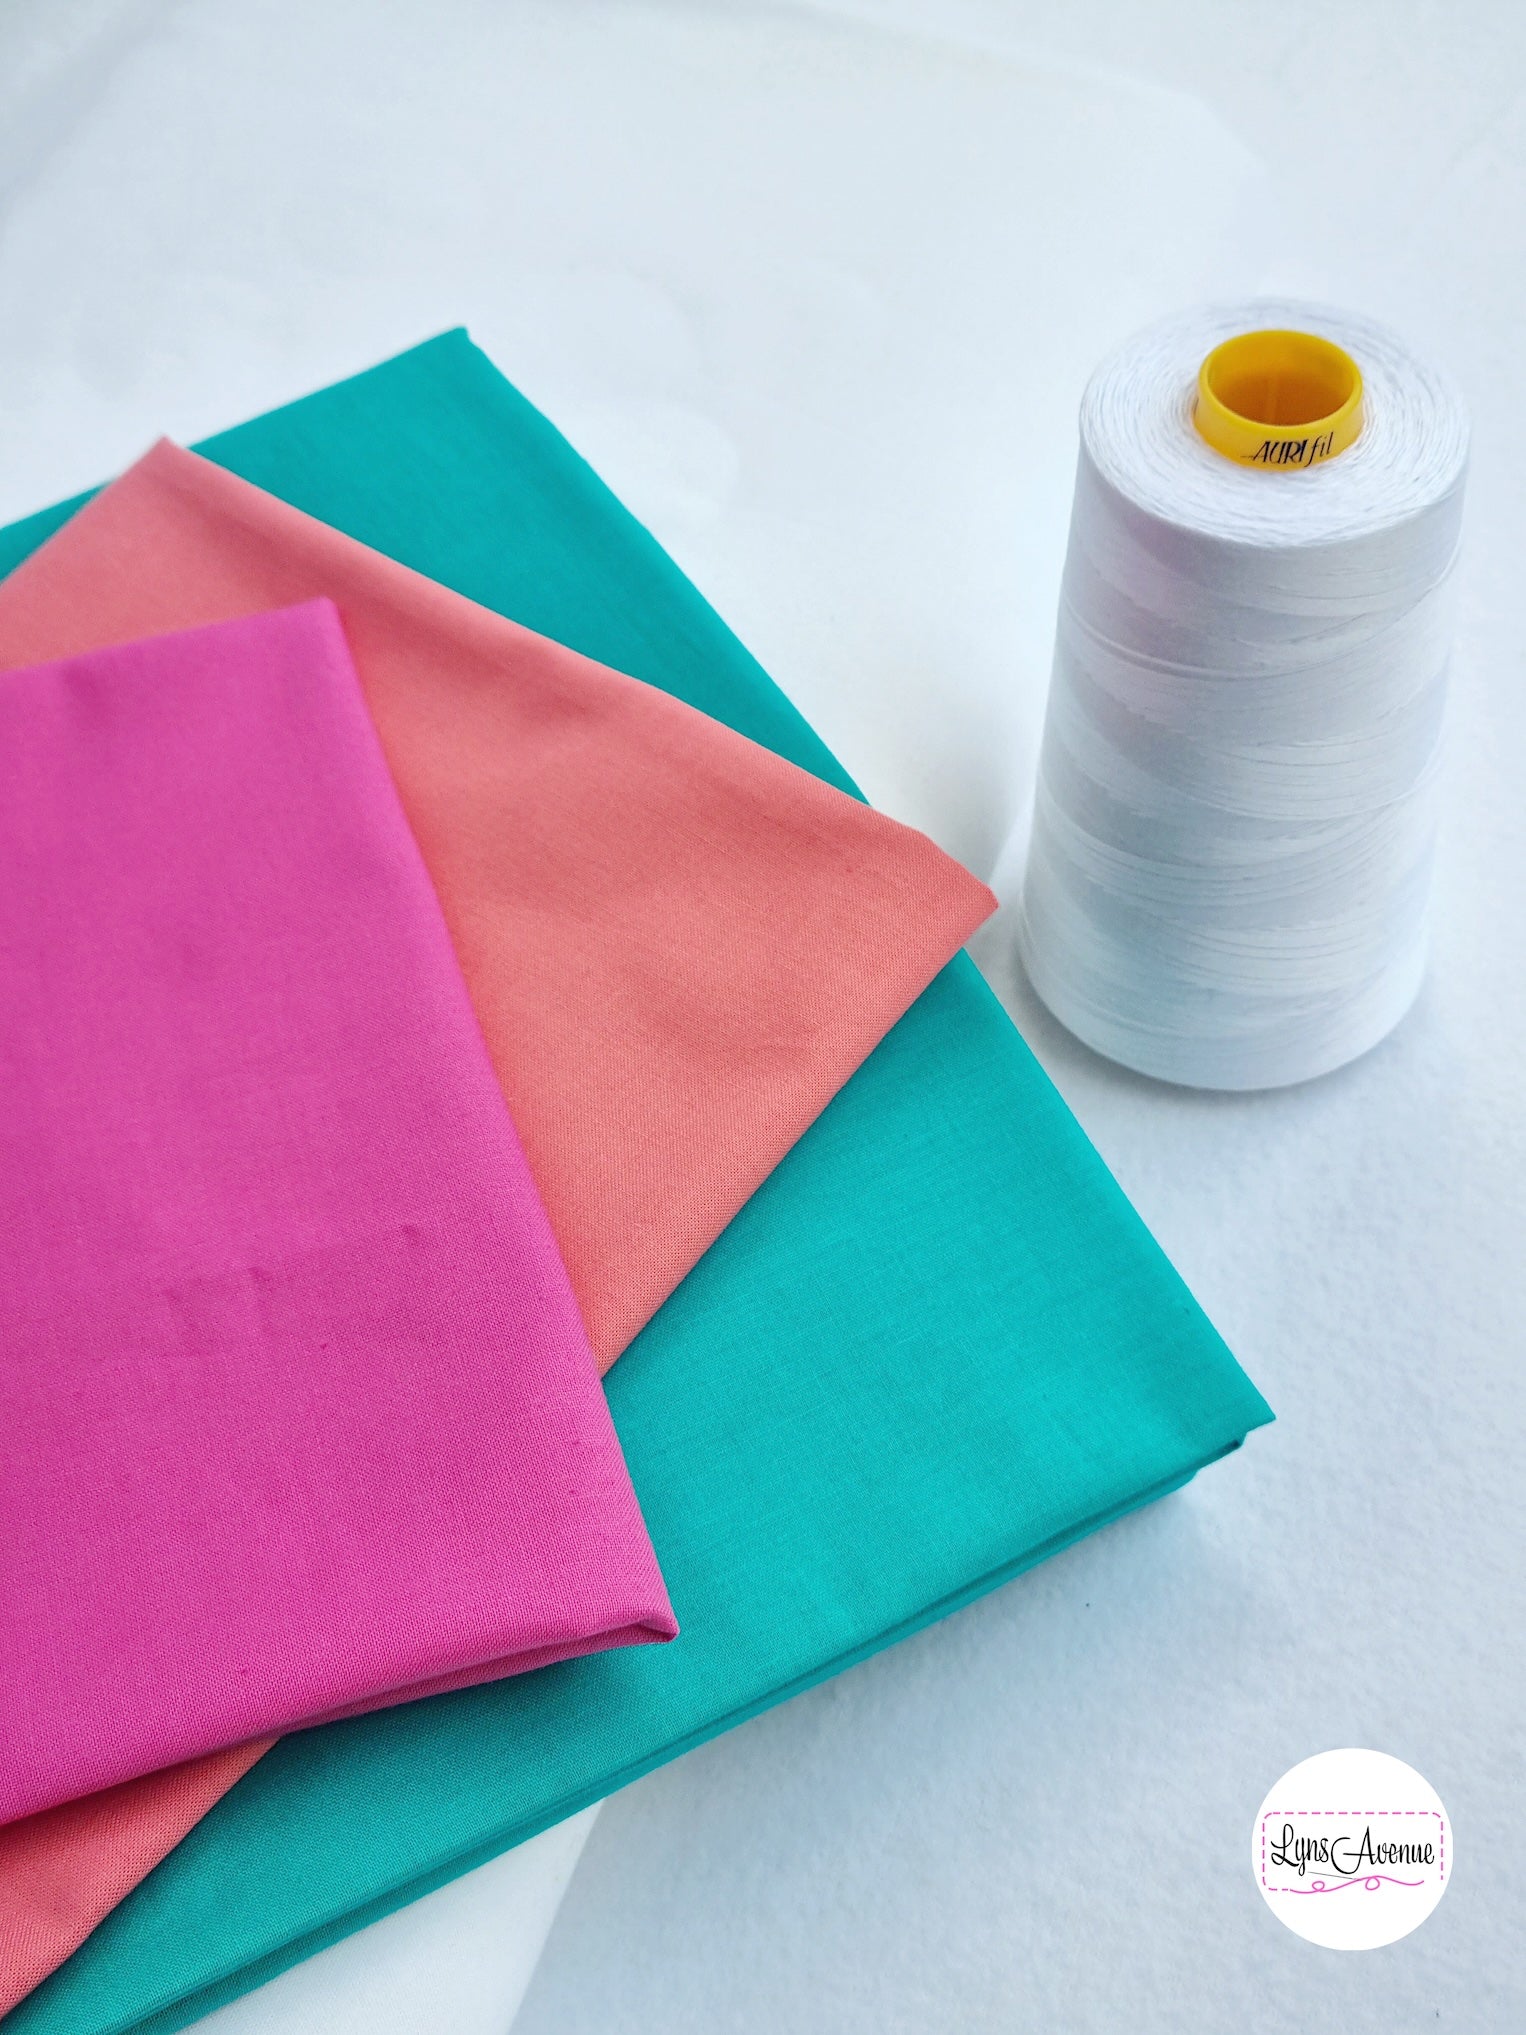
Before you begin, gather the following supplies on top of your fabric (l used Cotton Couture solids by Michael Miller fabrics), thread (l used Aurifil 40wt) and sewing machine. **Specialty rulers are not a necessity but do come in handy to make the process that much easier.
Quilting rulers including **HST slotted trimmers
Iron and ironing board
**Wool pressing mat
Fabric pen or pencil or a Hera Marker to draw lines
Rotary cutter
Seam ripper
Cutting mat
Before you begin
RST means right sides of the fabric together.Unfinished size means the size of a Half-Square Triangle (HST) before it's sewn into a quilt, inclusive of the ½" seam allowance (¼" on each side).
Finished size means the size of the Half-Square Triangle (HST) after it's sewn into a quilt minus the ½" seam allowance.
For example, a 7 ½" unfinished HST will become 7" finished.
Quilt maths
In this tutorial, l’m going to show you how to make 7 ½" unfinished HSTs. You’ll need two rectangle pieces of fabric that are 8 ¼" x 16 ½". Let’s take a moment to work out the quilt maths for a 8 ¼" x 16 ½" starting rectangle measurement, before we move along.
Take the size of the unfinished HST, and add ¾". This will make up the vertical (shorter) sides of the rectangle. Take this number and double it to give you the size of the horizontal (longer) sides of the rectangle.
Using the 7 ½" unfinished HST example, this is what the calculations will look like;
7 ½" + ¾ = 8 ¼" (vertical side), 8 ¼" + 8 ¼" = 16 ½" (horizontal side), 8 ¼" x 16 ½" = the size of the starting rectangle needed to make four (4) 7 ½" HSTs-at-a-time.
I’ve done some Quilty maths for you with different (16) unfinished sizes for your future reference, which you can get in link below.
You can purchase the printable post here
Now that the maths is out of the way, lets make our HSTs.
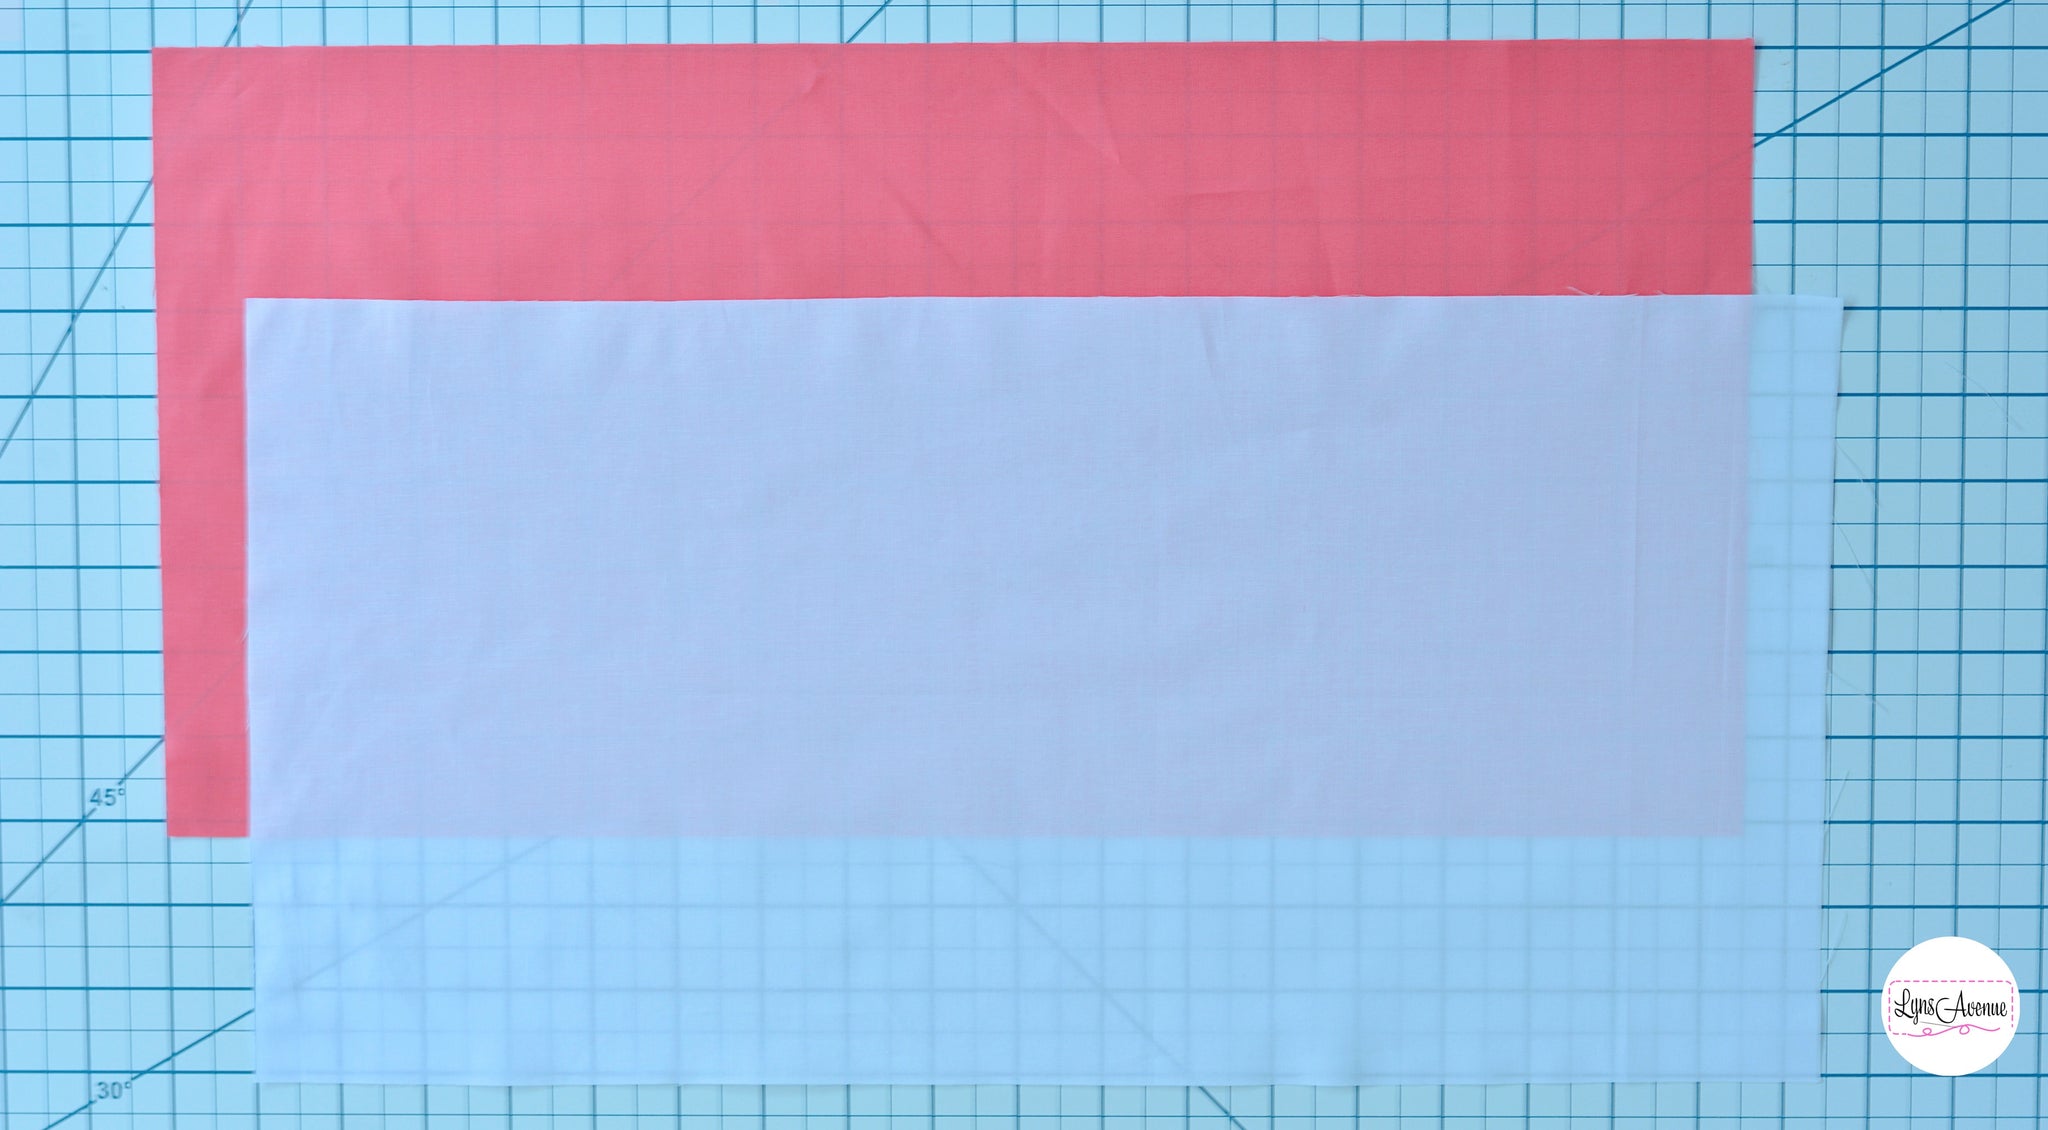
1. Pair two (2) 8 ¼" x 16 ½" rectangle pieces together, RST.
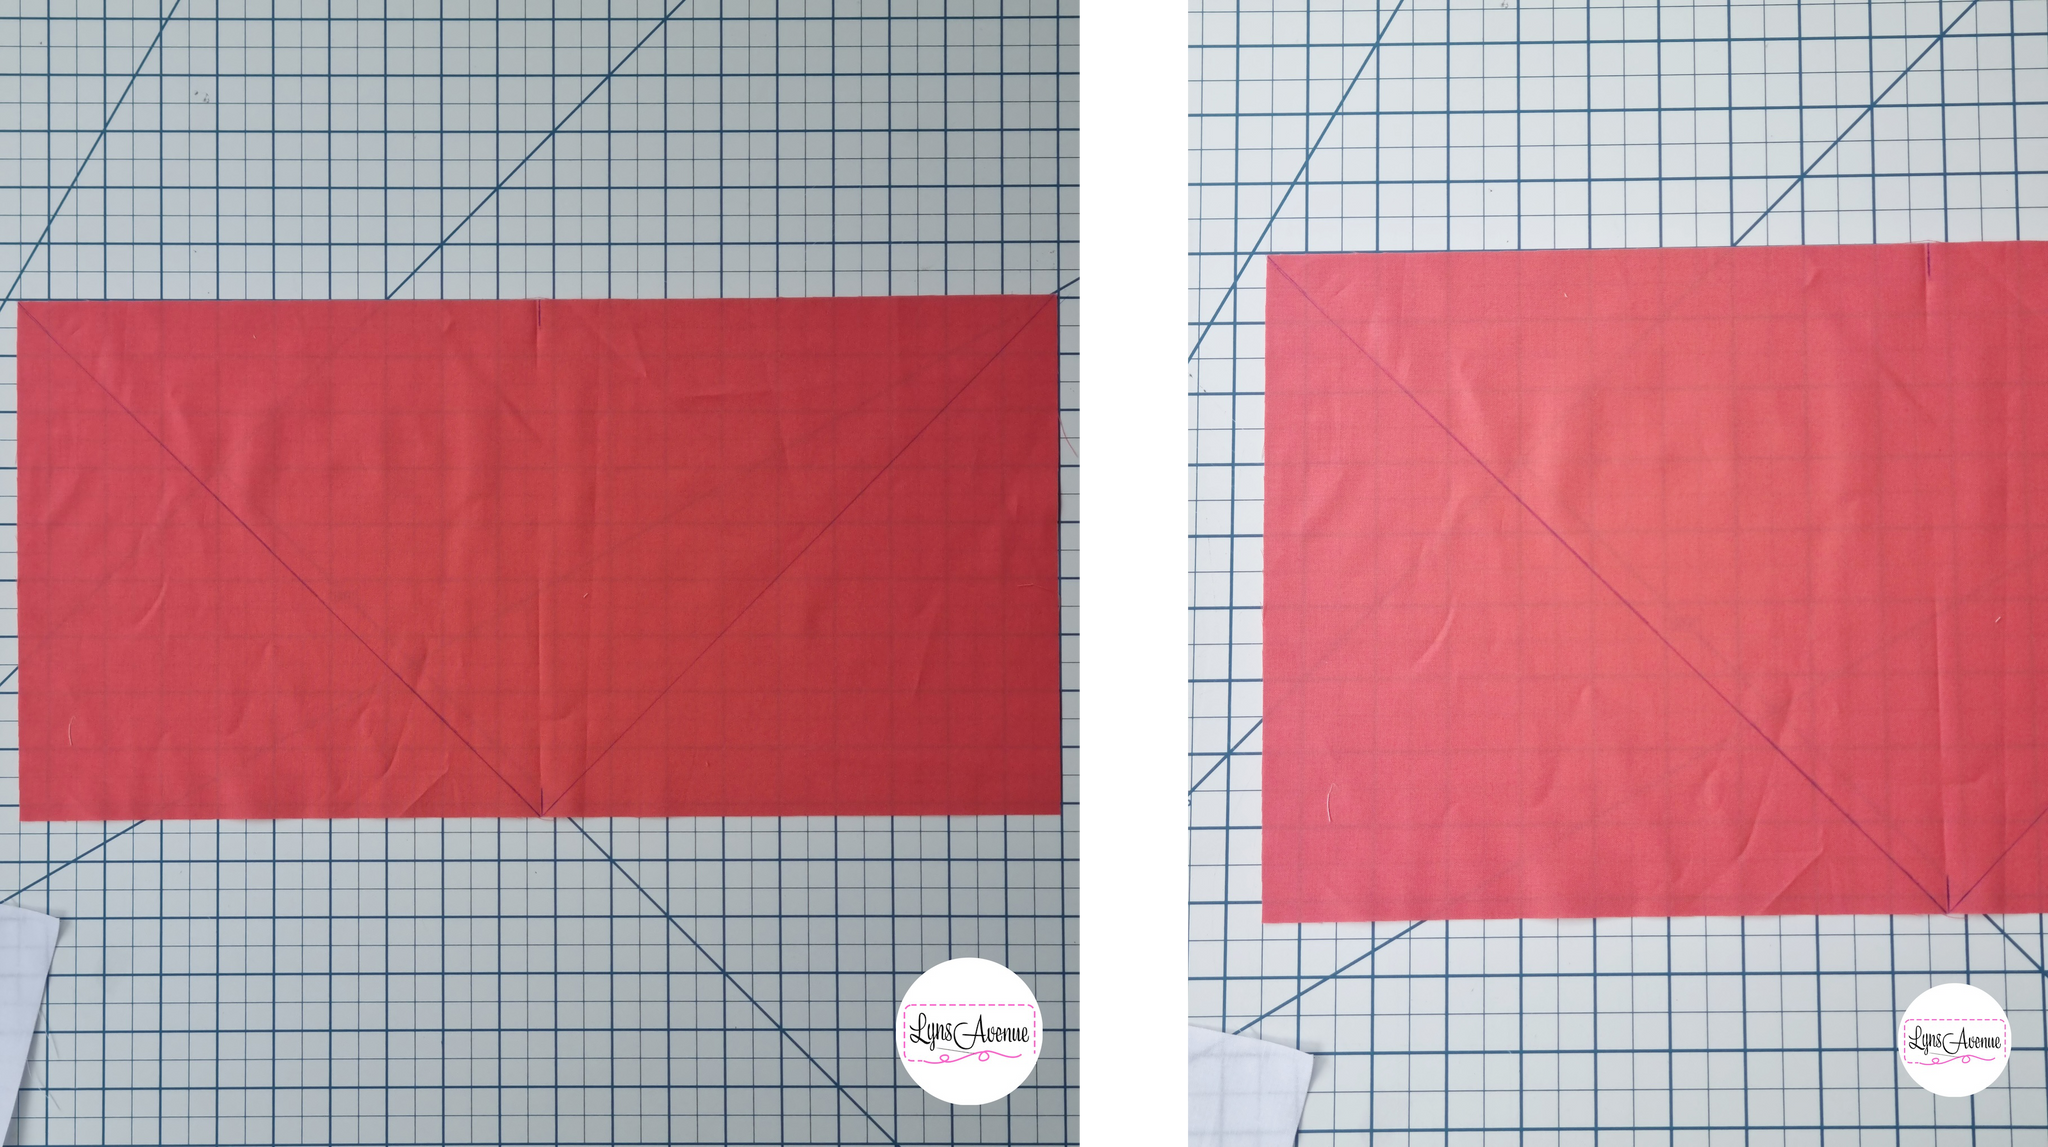
3. On the wrong side, draw a line down the marked centre (picture below only shows marks on the top and bottom, this works too).
4. Draw diagonal lines starting from the top left to bottom right and bottom left to top right, of the marked centre line.
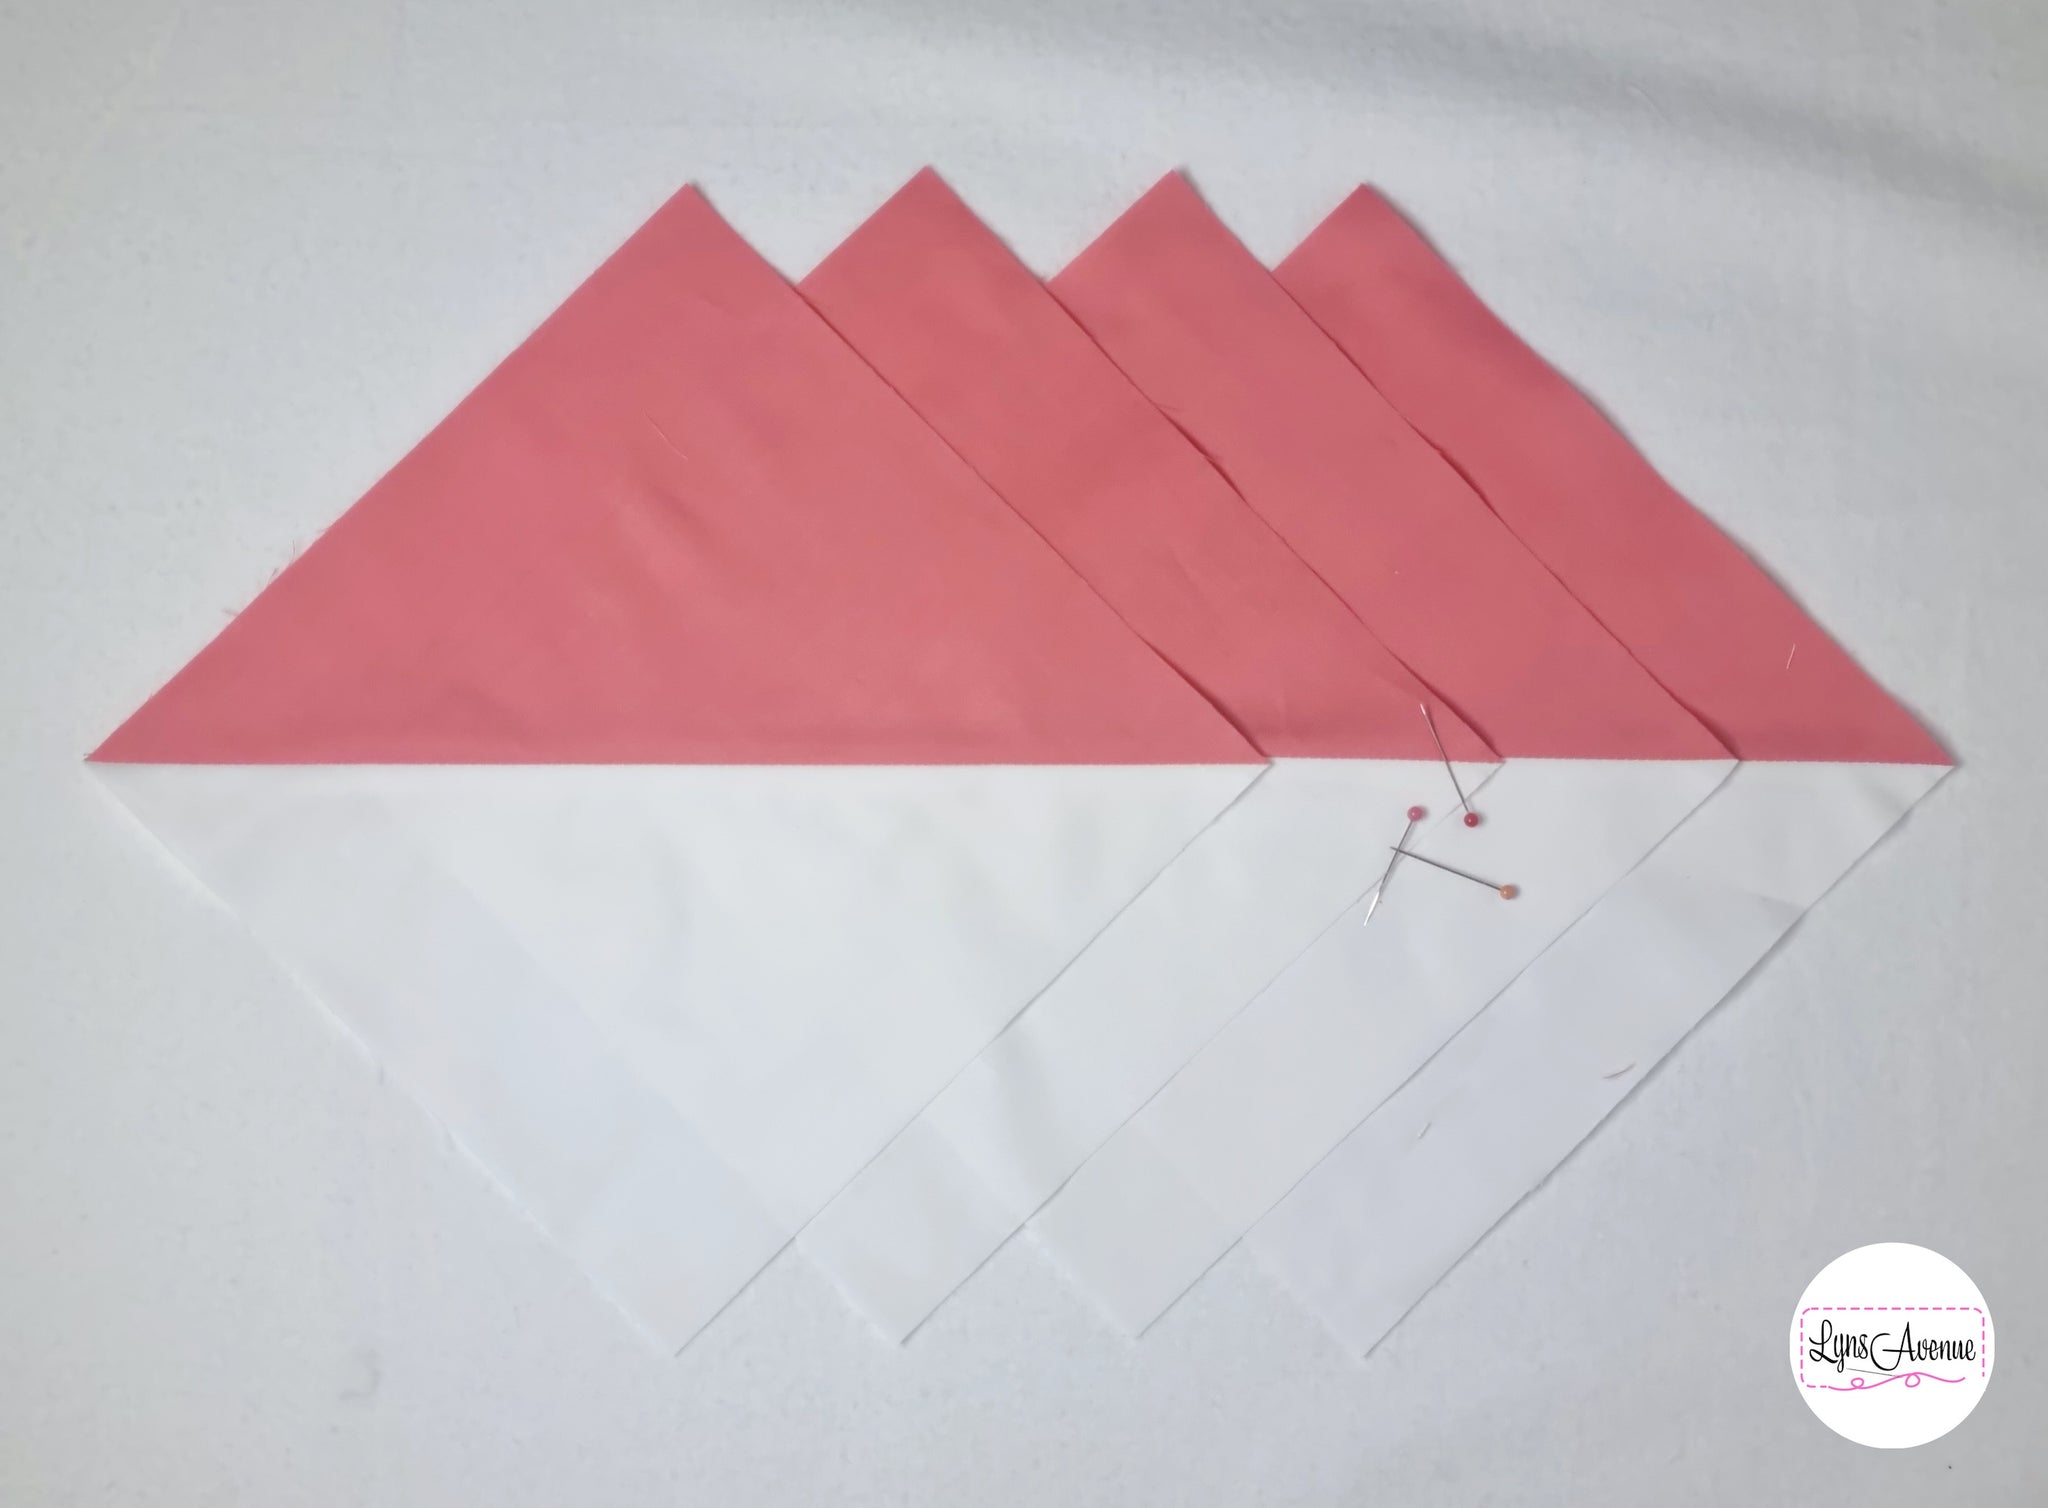
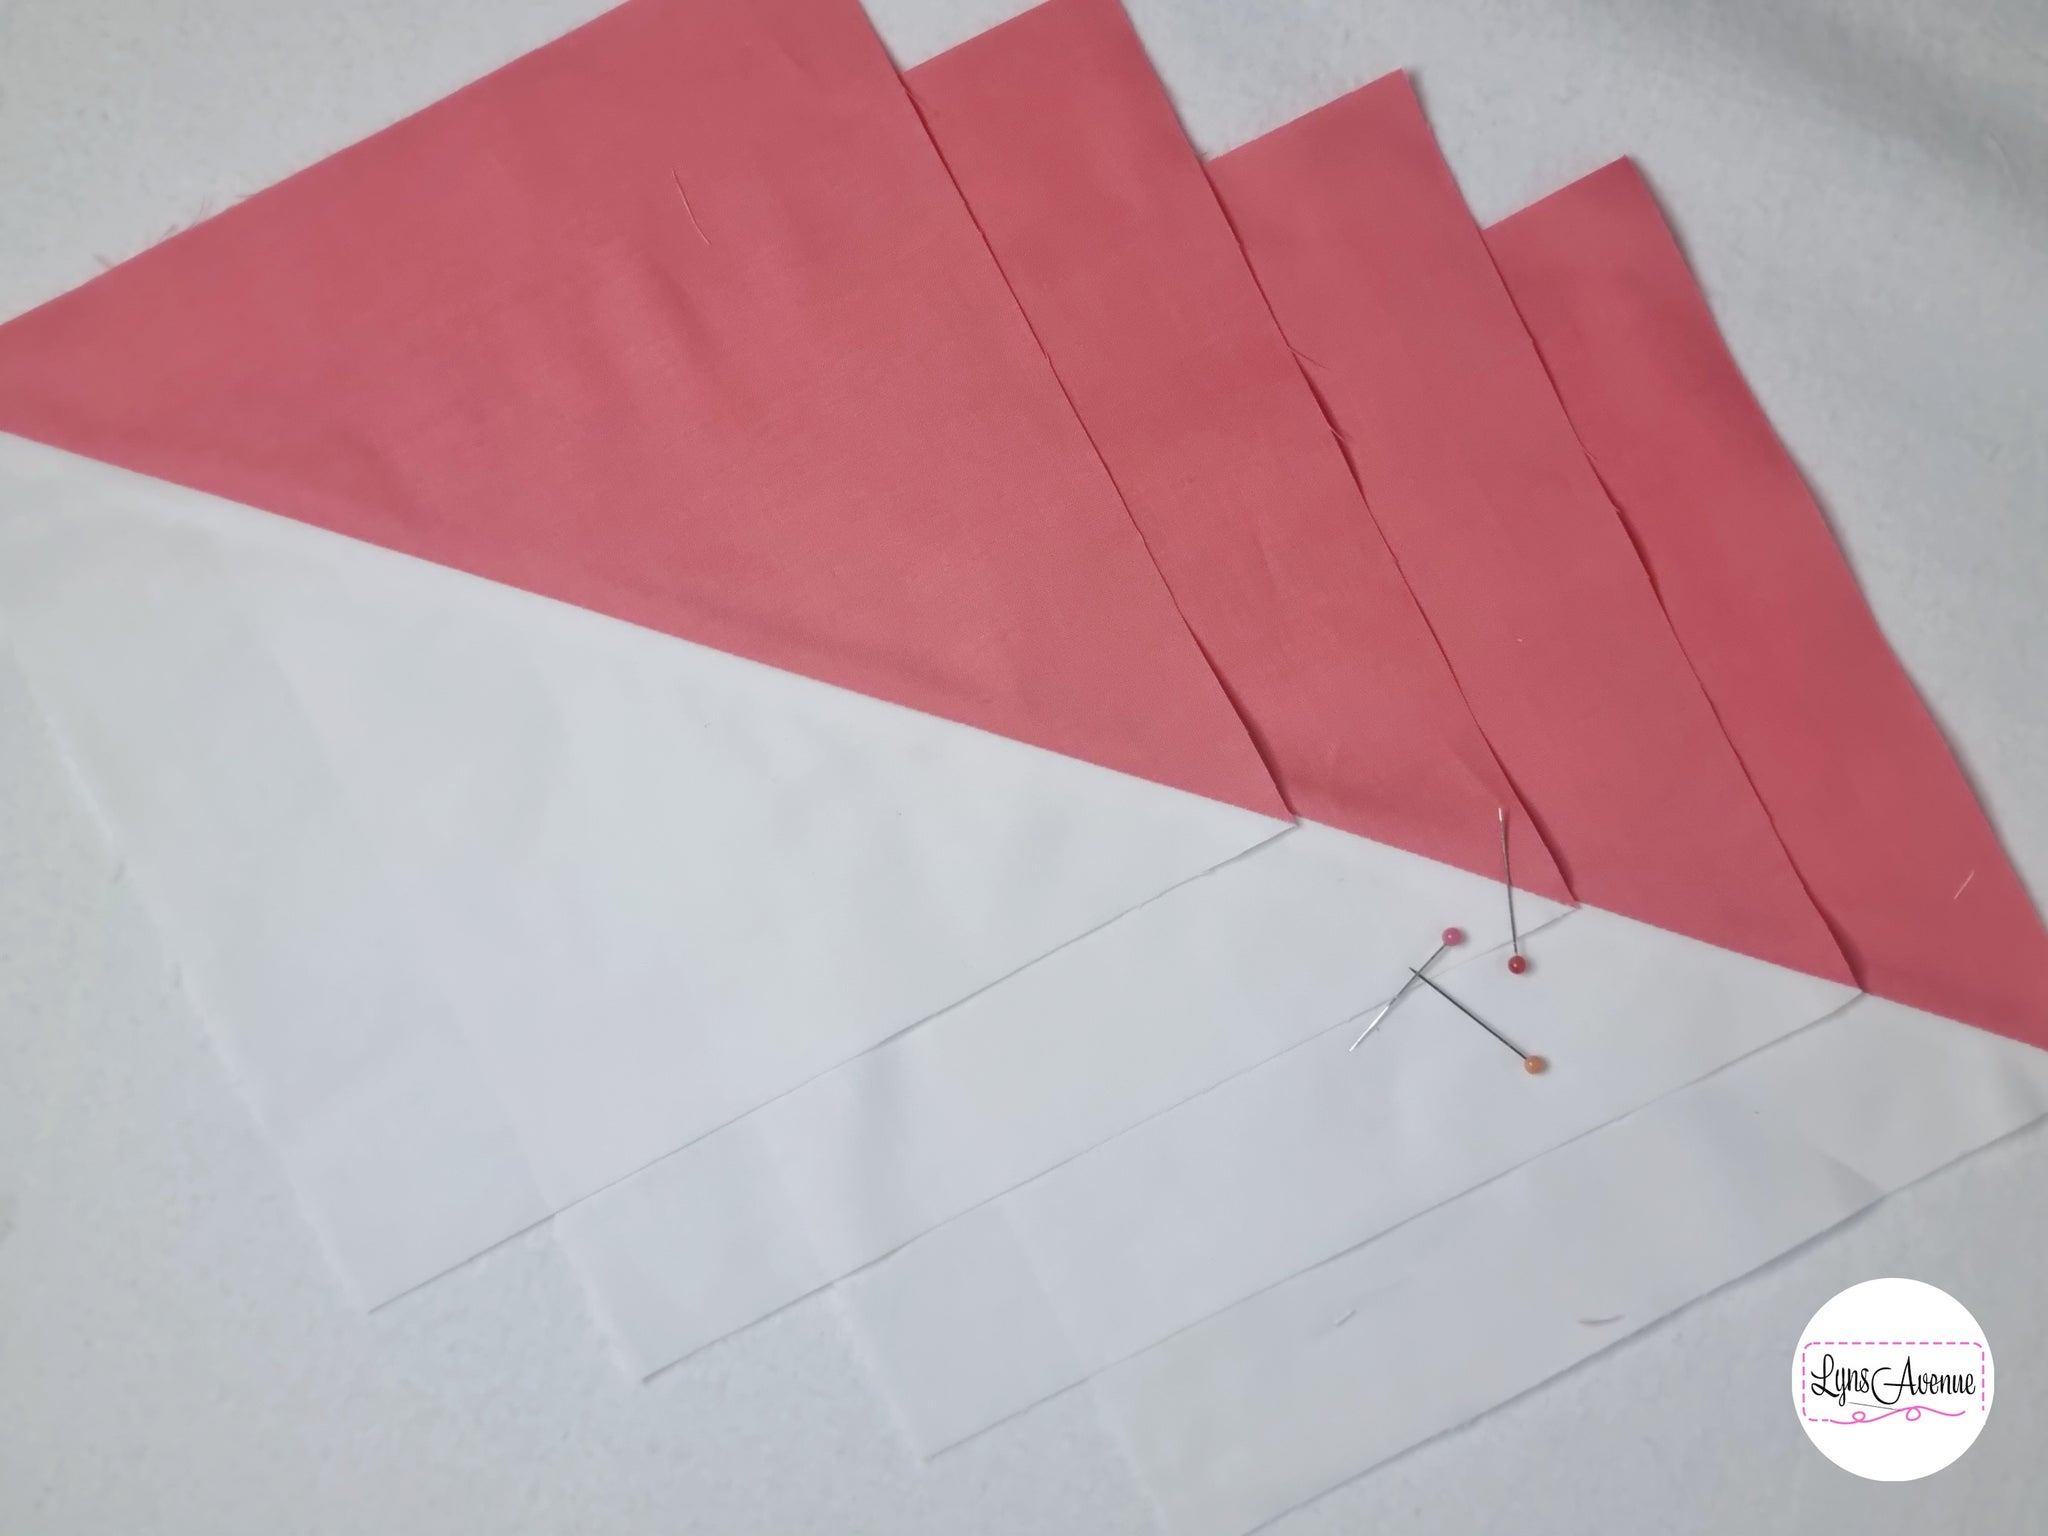
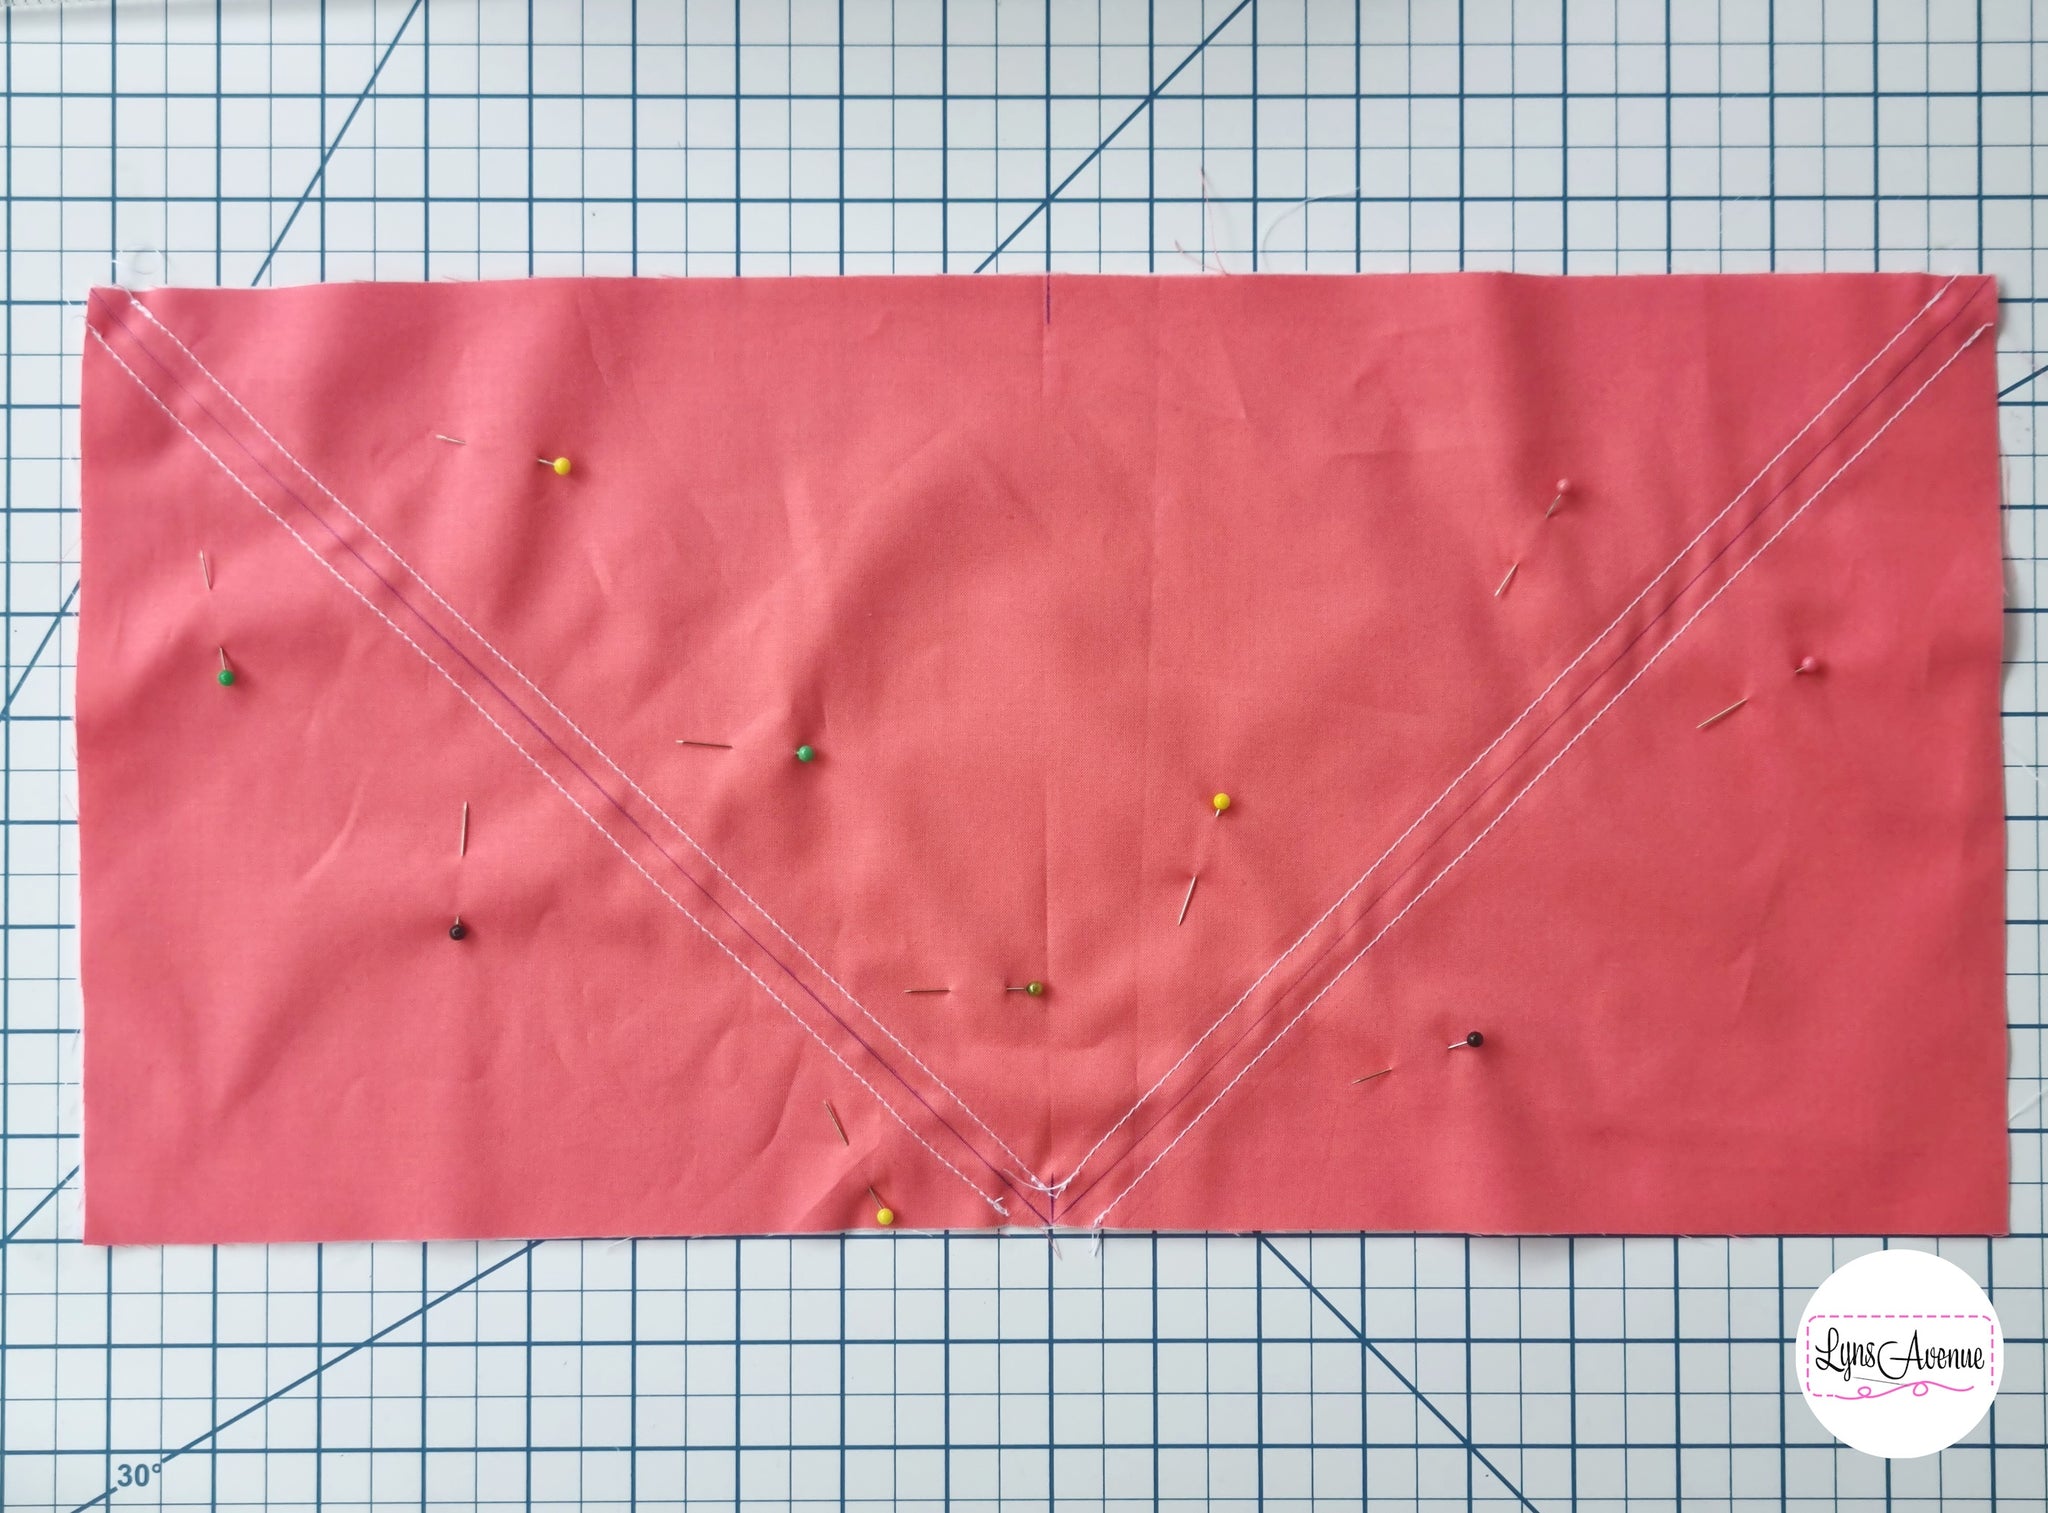
5. Pin and sew a ¼" seam allowance on both sides of each diagonal line.
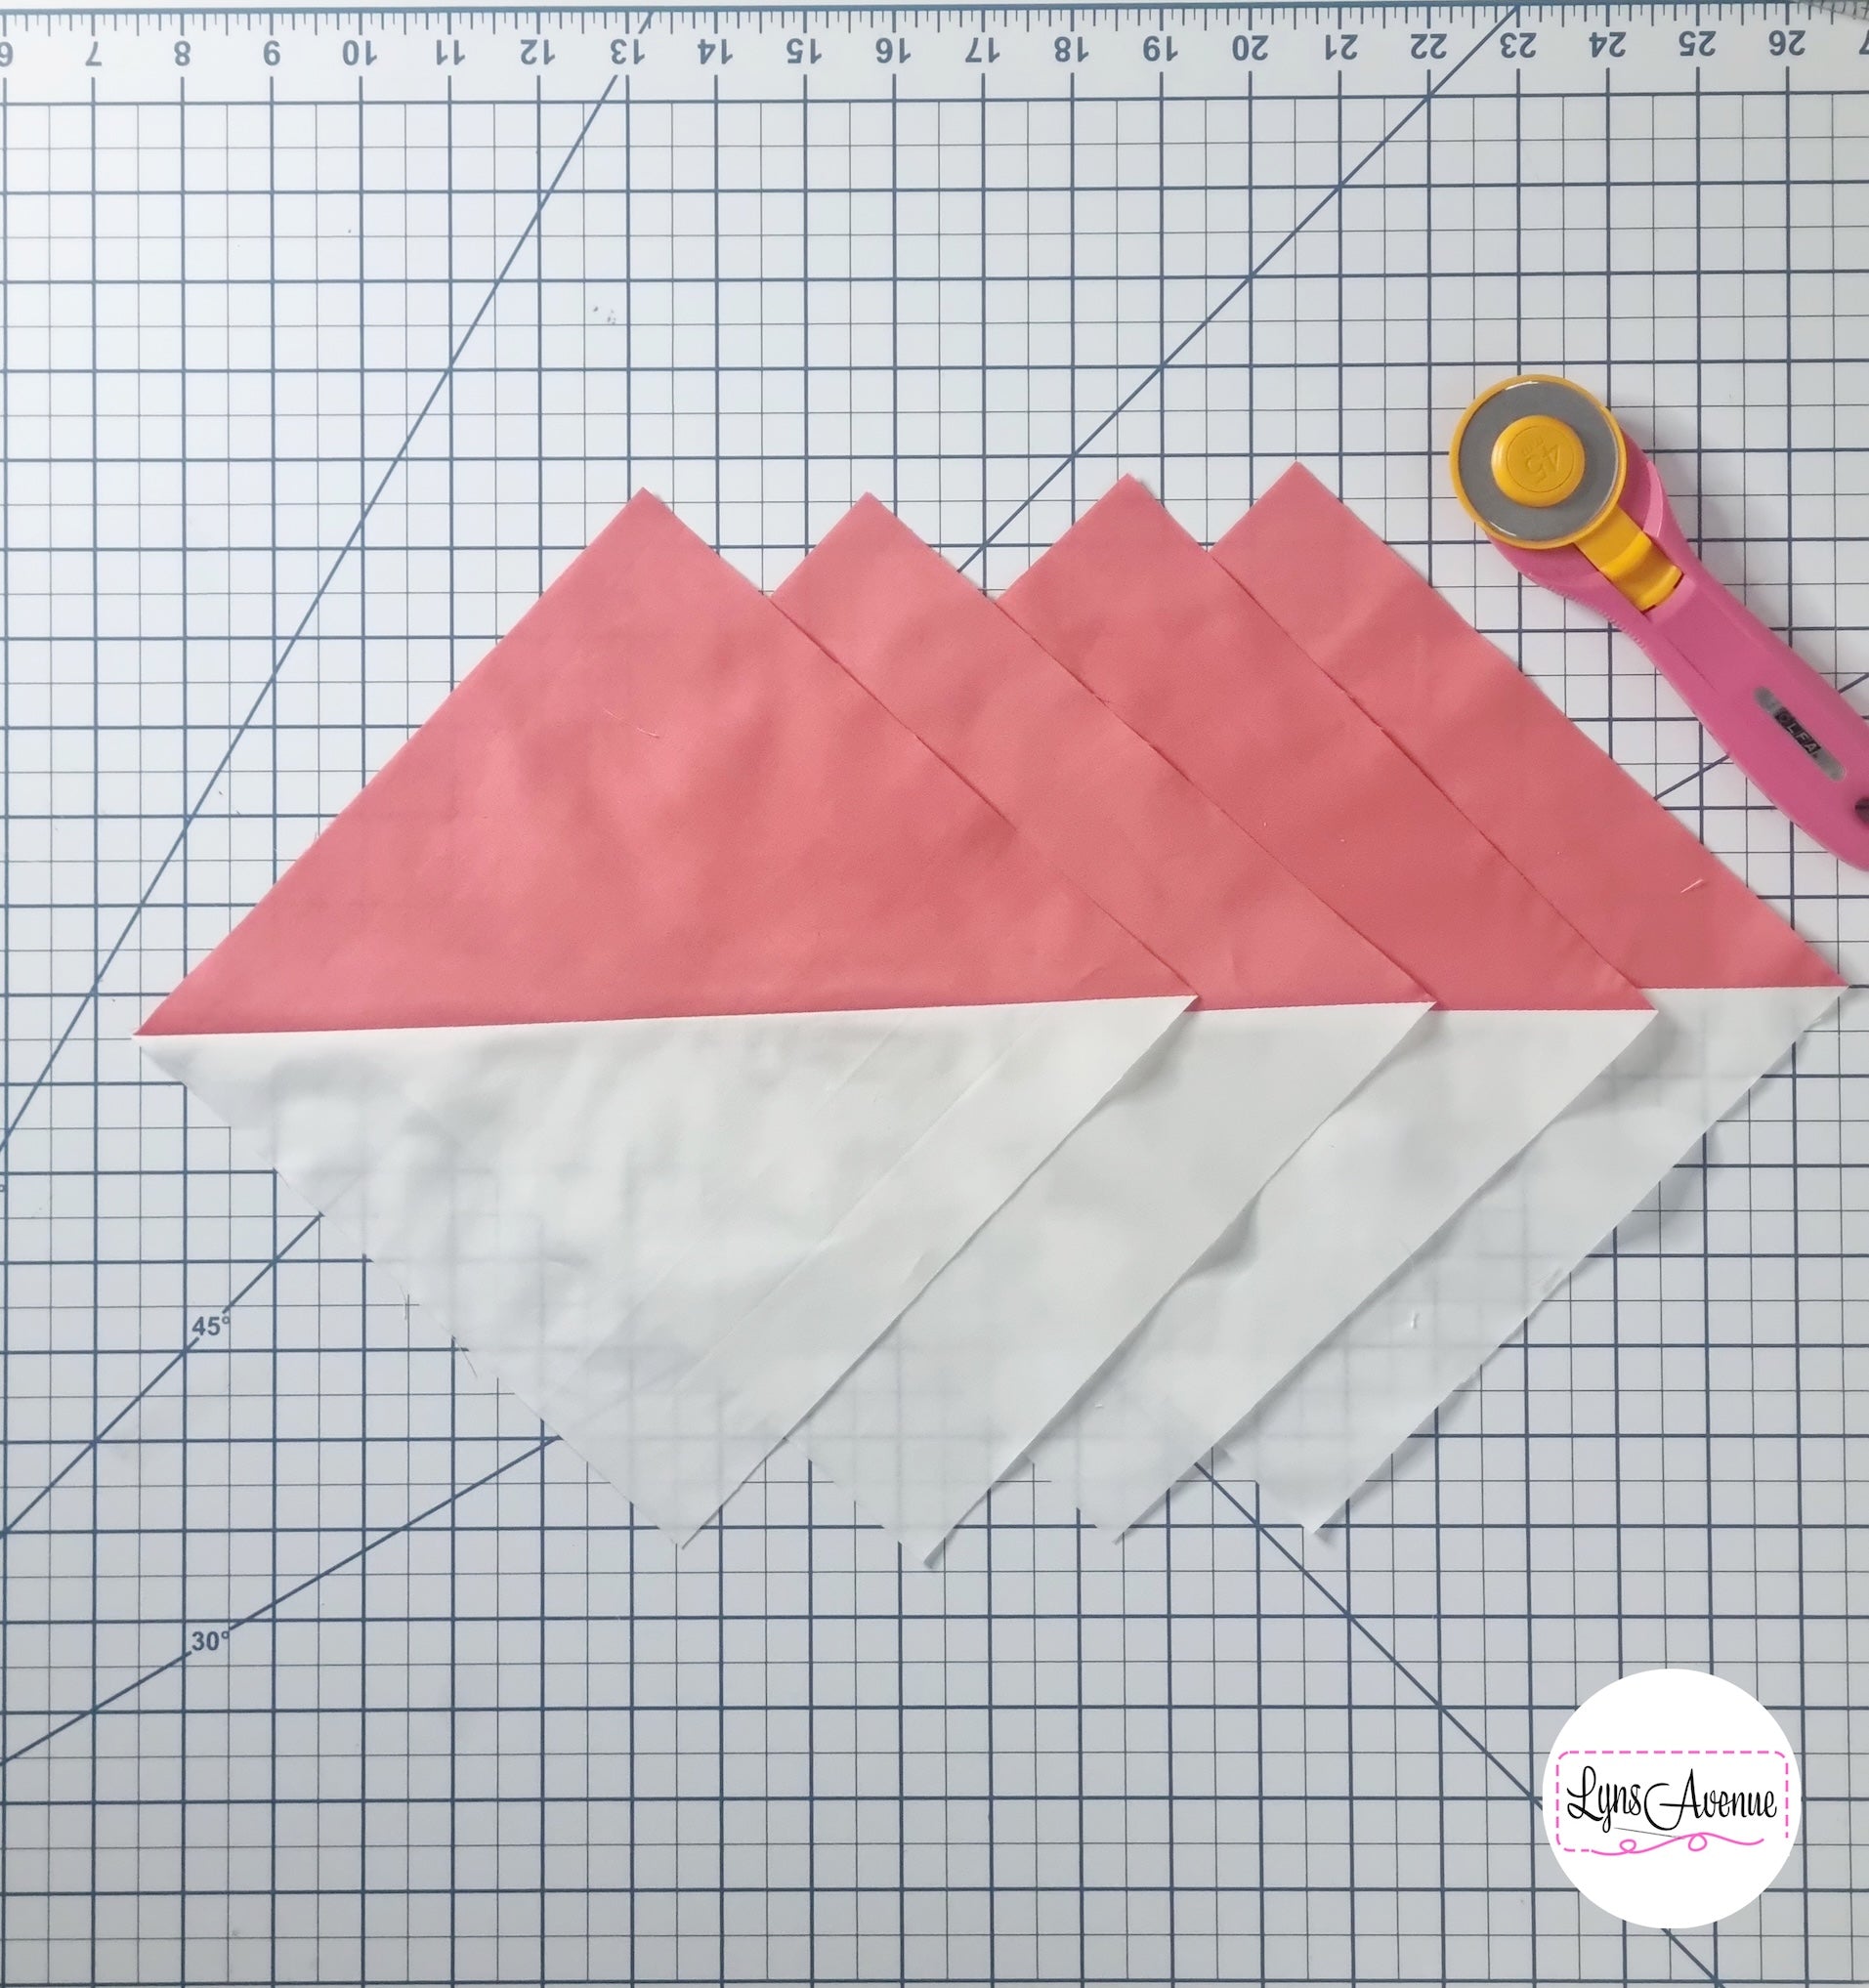
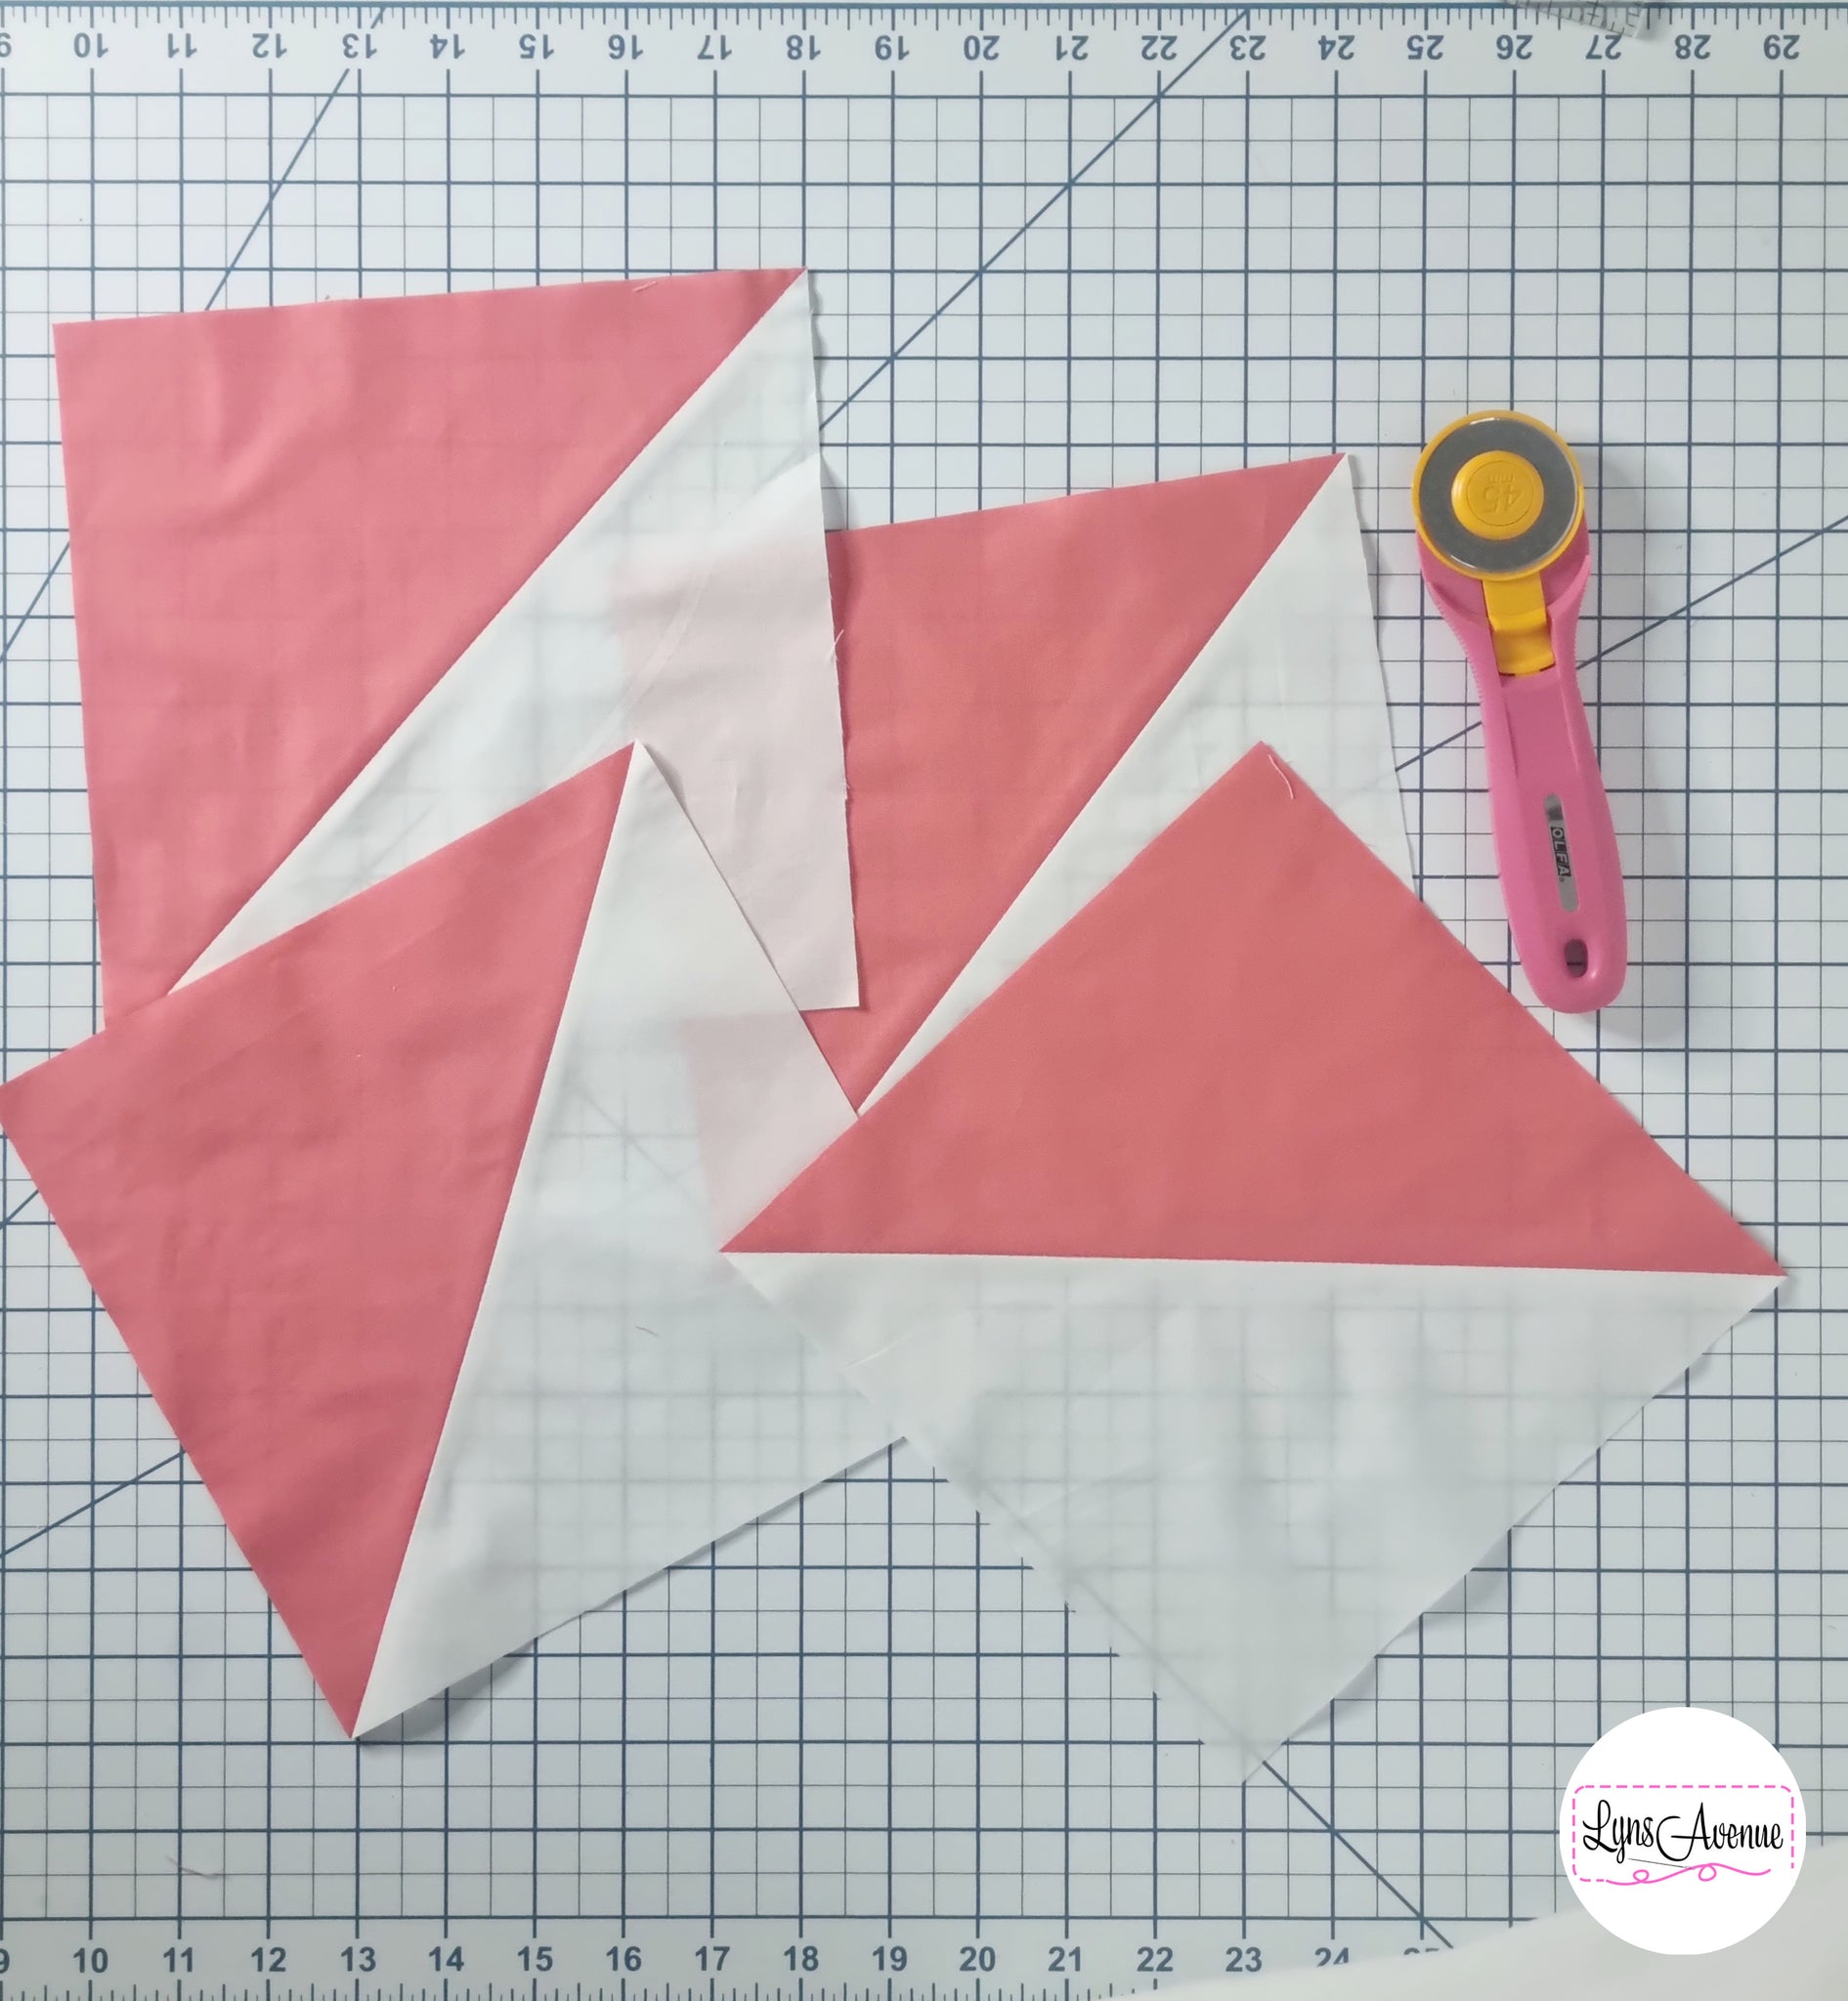
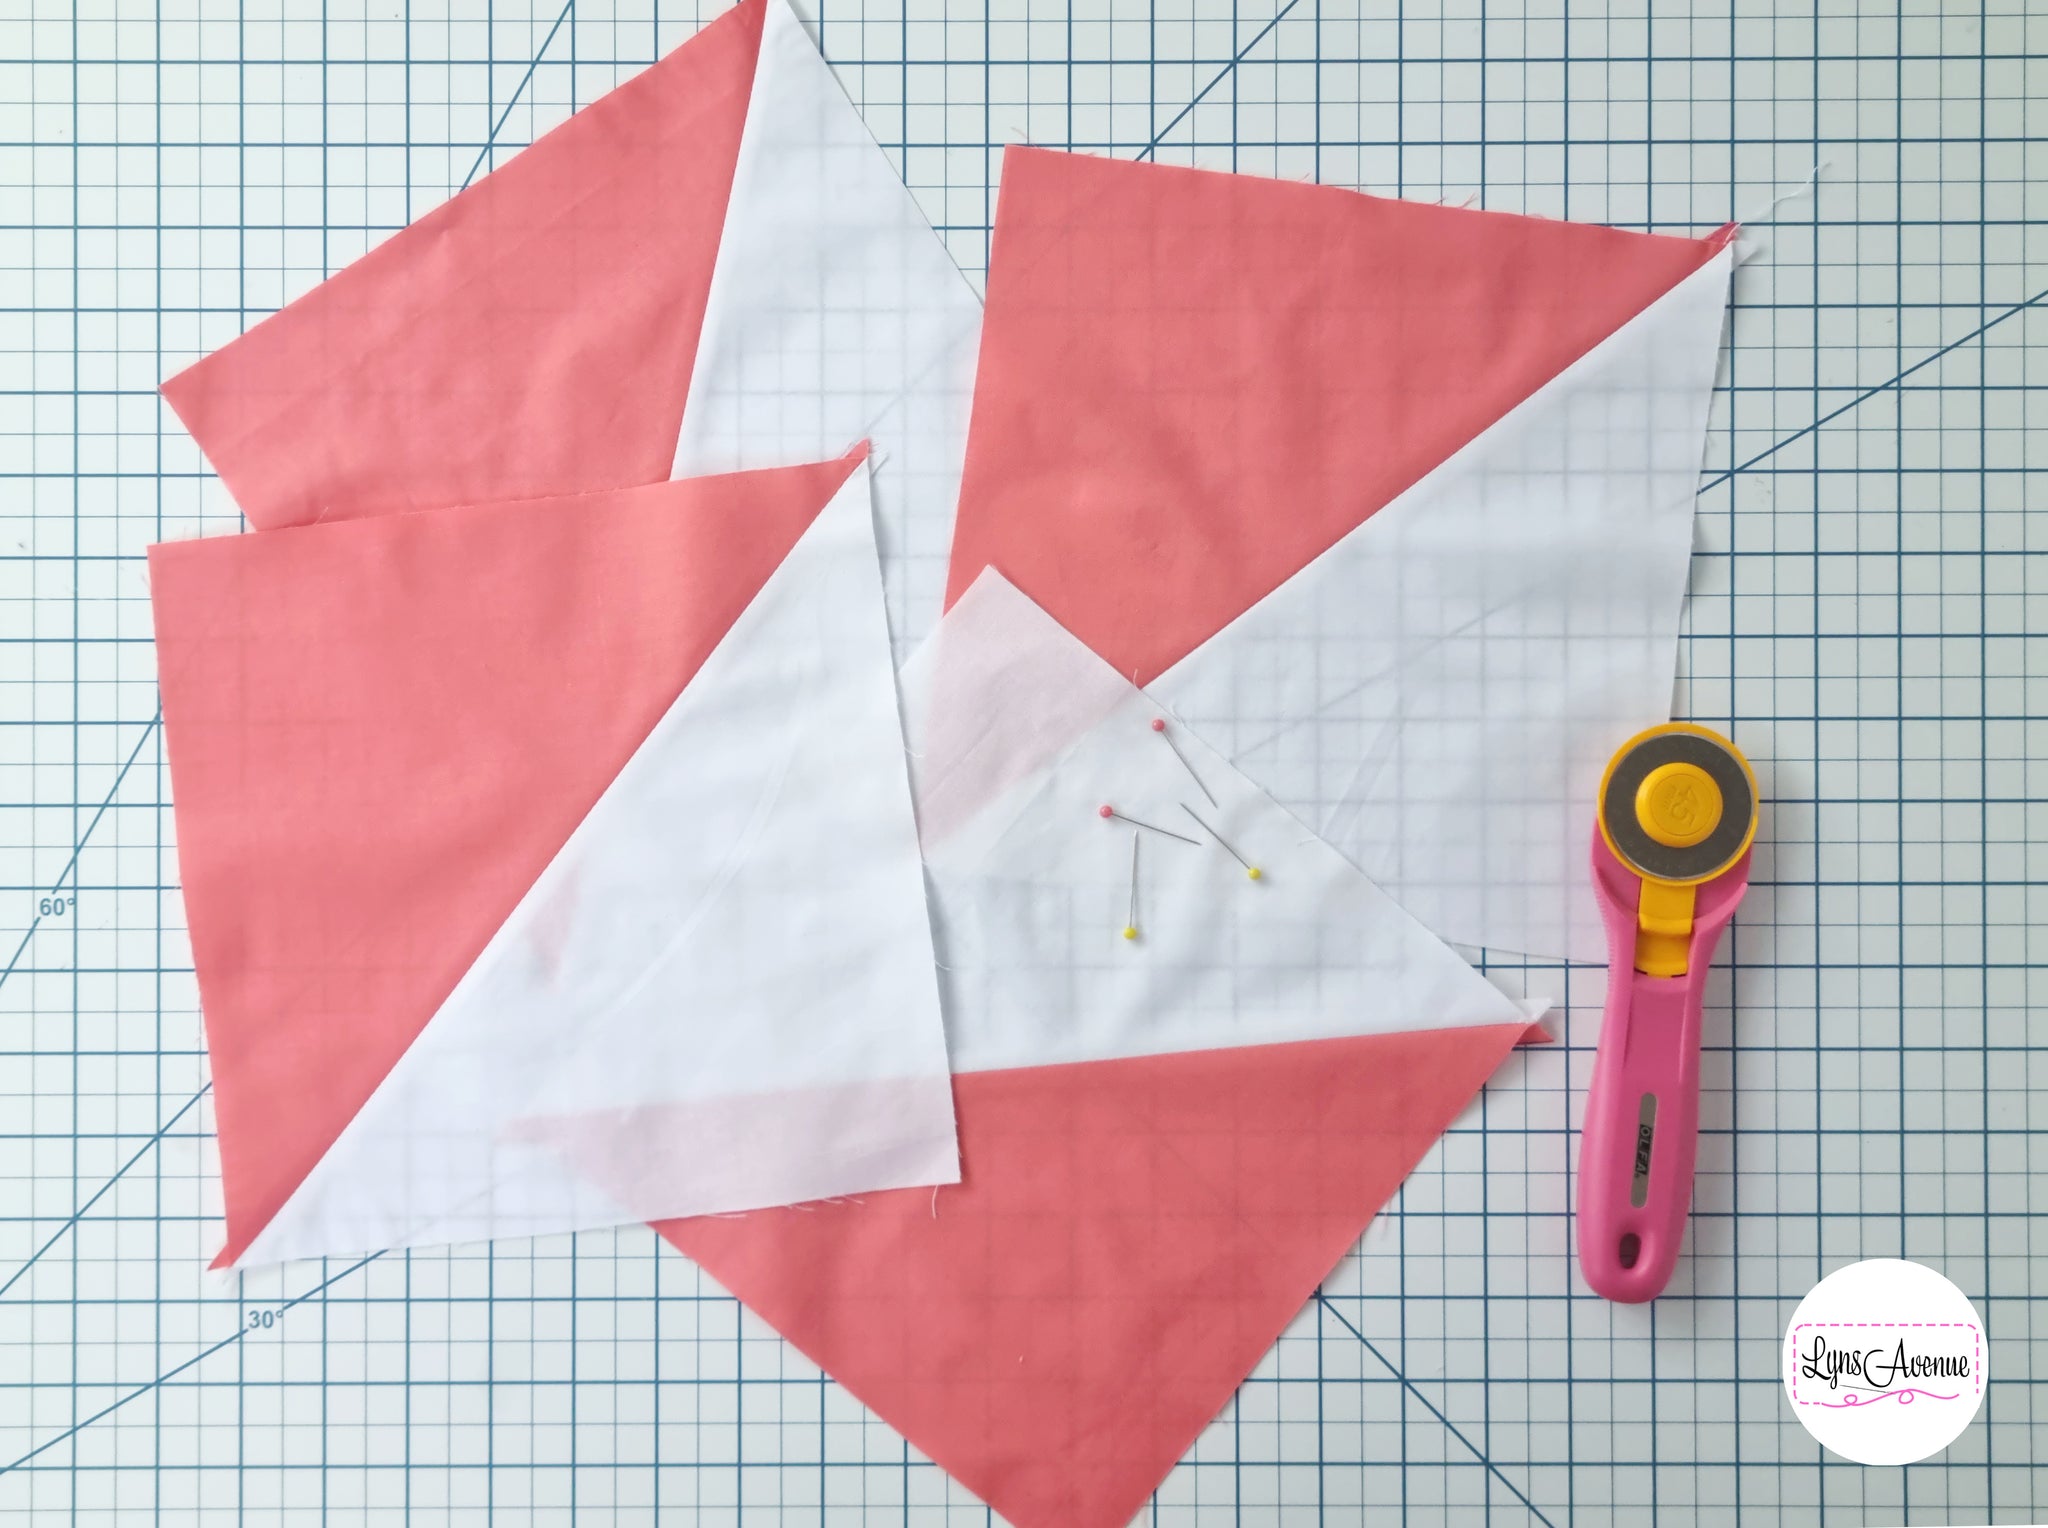
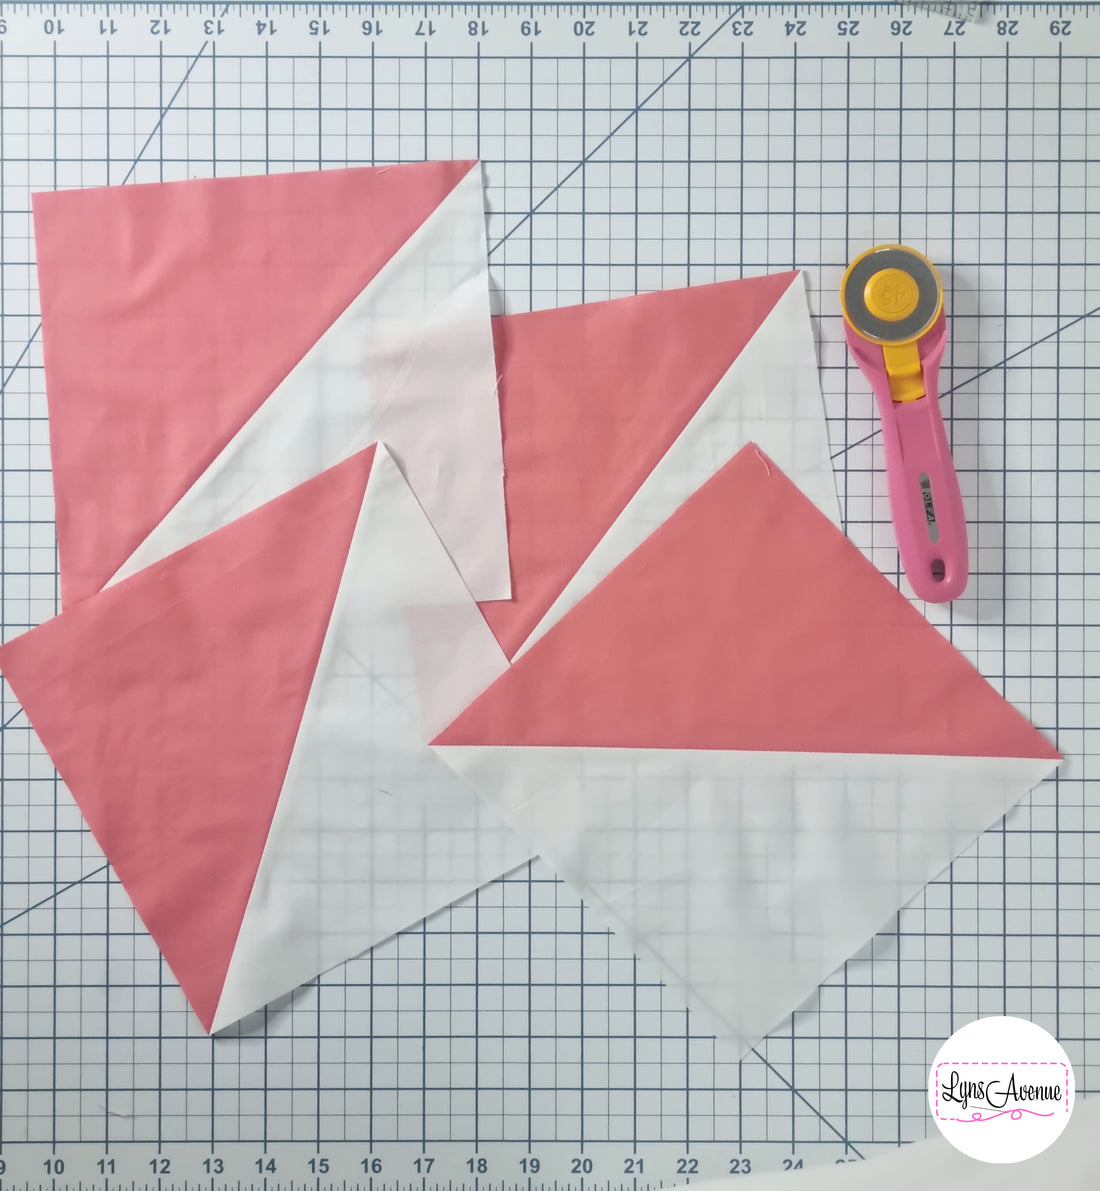
6. Using your rotary cutter, cut along the drawn lines to produce 4 half-square triangles (HSTs).
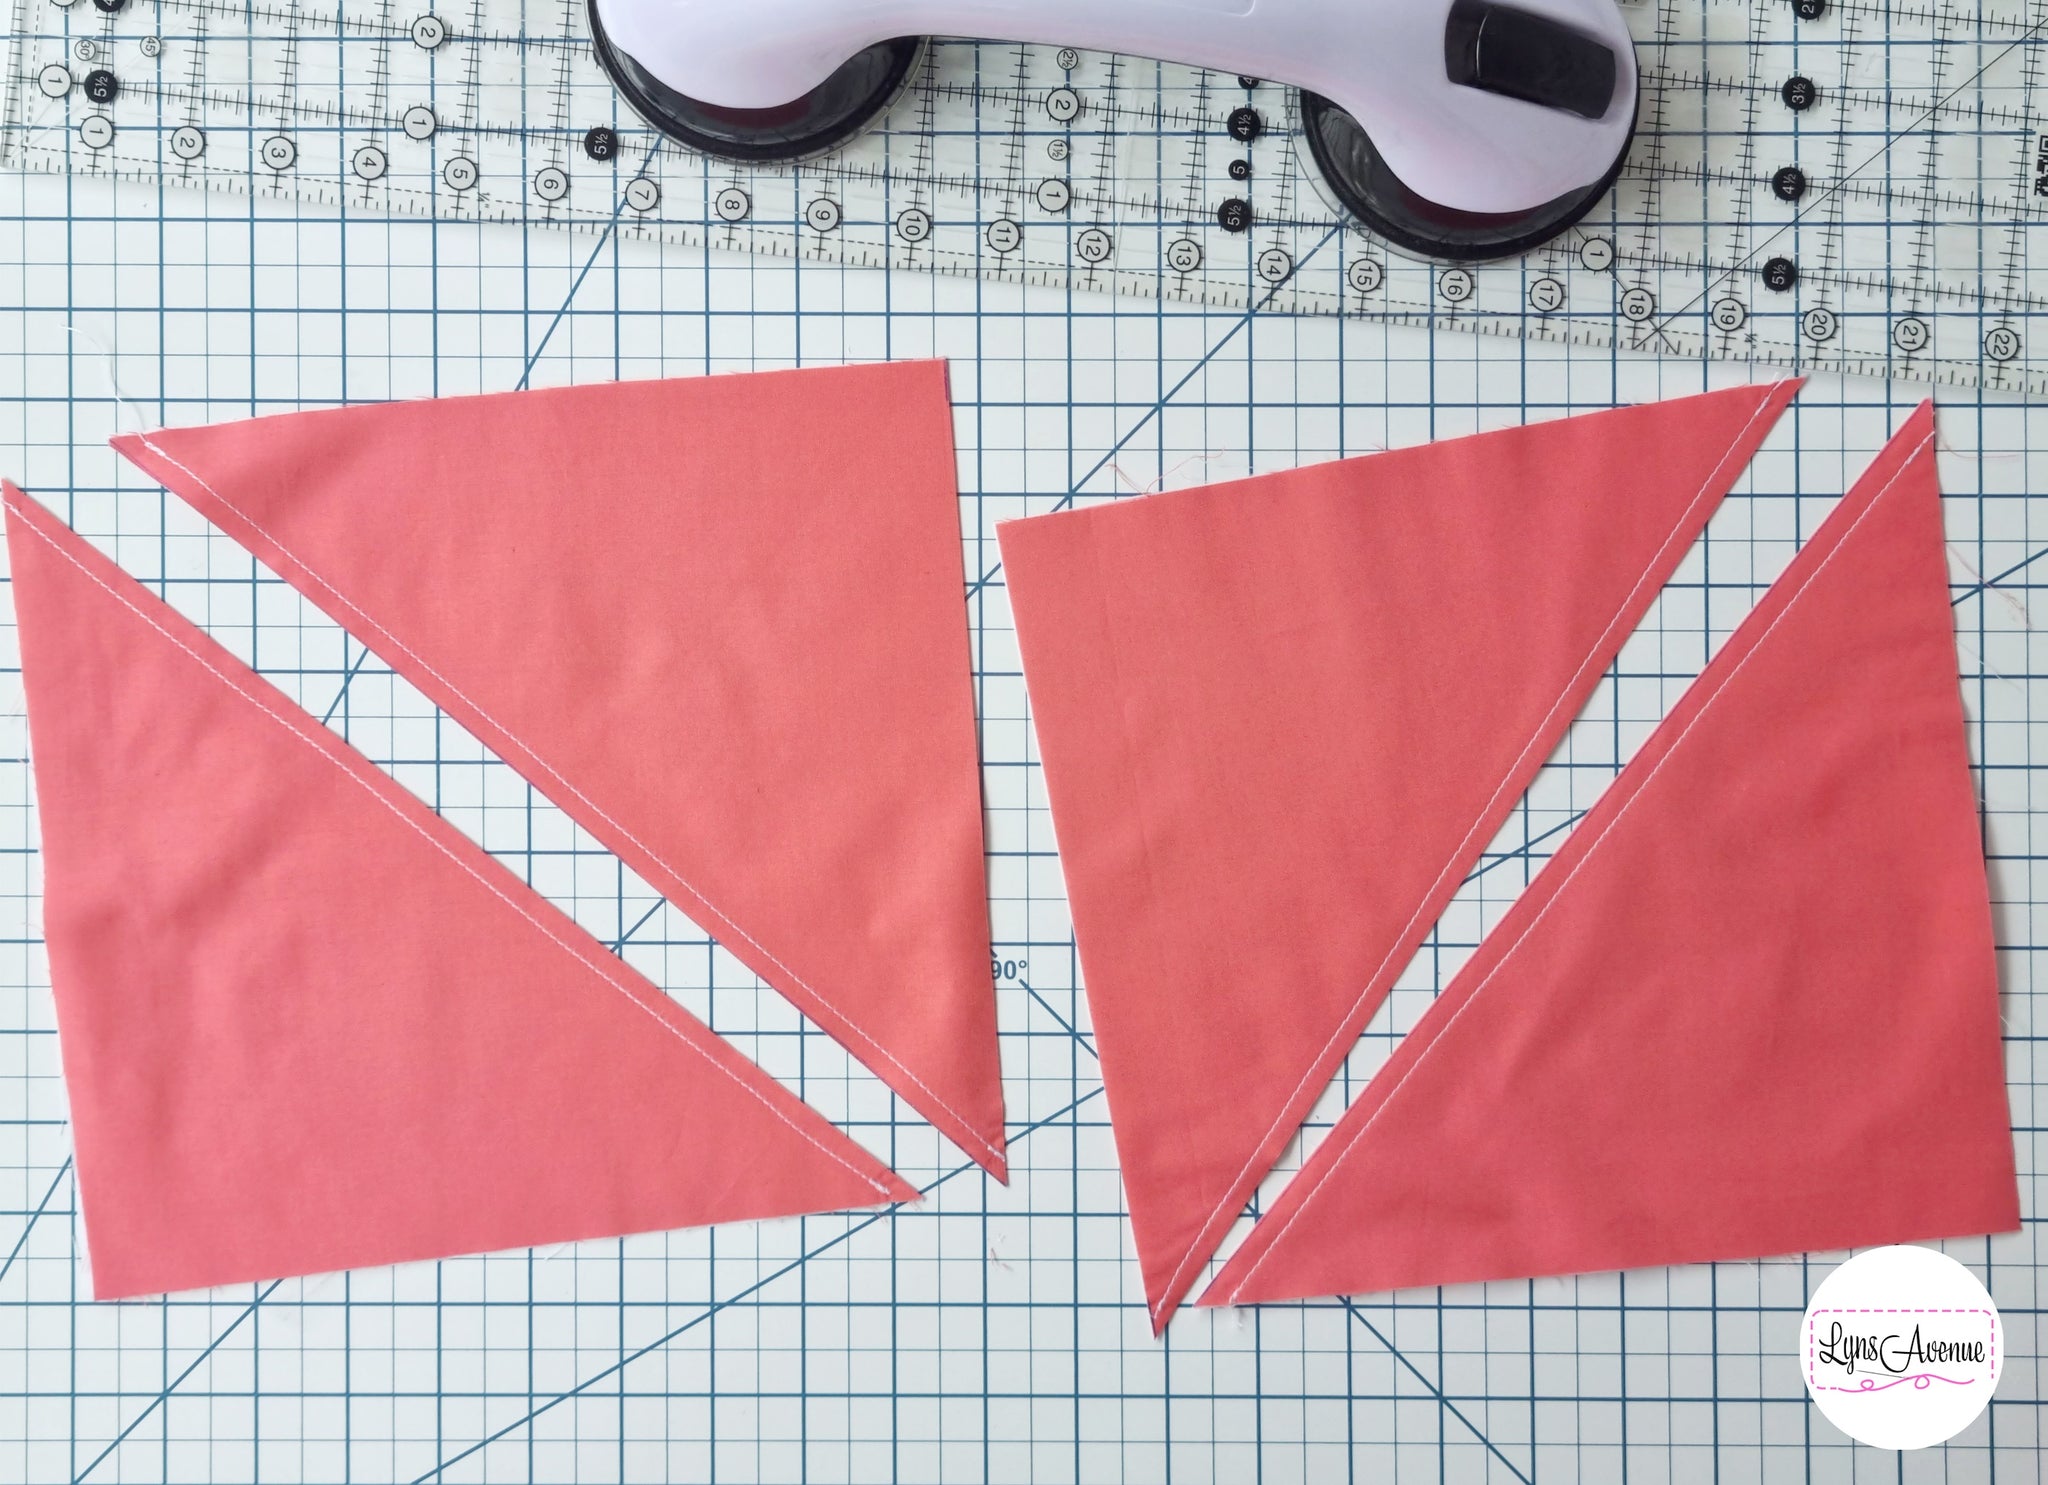
There you have it, 4 half-square triangles done in one go. I hope you have found this 4-at-a-time half-square triangle tutorial helpful. Enjoy making your half square triangle projects!
